
YouTube Success: Creating Exciting Travel Videos
Kristen & Nadine · YouTubers | Videographers
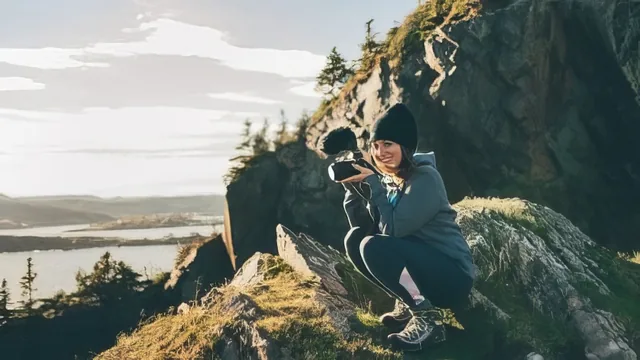
Two veteran travel YouTubers sprint through storytelling, camera settings, and location logistics in 81 minutes, trading depth for breadth at every turn.
A wide net, cast quickly
This course positions itself as a foundation-setter, the first installment in a five-part travel content series, and it behaves exactly that way. Fourteen lessons in 81 minutes means most topics get five or six minutes, and the pacing shows. The strongest material sits early, in the storytelling lessons, where Kristen and Nadine talk through how they actually plan a shoot: starting with the destination and the feeling they want to capture, structuring footage around a beginning-middle-end arc, and mentally editing while filming so unnecessary clips never get shot in the first place. Their advice to "shoot the bad stuff," the arguments and lost moments, is a genuinely useful corrective for beginners who default to scenic montages and wonder why nobody watches past thirty seconds.
The camera fundamentals lesson covers the exposure triangle, aperture, ISO, and shutter speed, along with shot types like pan, tilt, POV, and rack focus. It is accurate and clearly explained, but it is also the kind of material available in countless free tutorials, and the course does not push past the basics into anything travel-specific. The stabilization lesson is more useful because it is grounded in gear the hosts actually use, contrasting in-body stabilization, stabilized lenses, and a three-axis gimbal with honest notes about the learning curve of balancing a gimbal on the road.
Where the practical value concentrates
The two transition lessons are the sharpest technical content in the course. The wipe transition, matching motion blur at the end of one clip to motion blur at the start of the next, and the object-glide transition, moving the camera behind a tree or person to bridge two scenes, are both explained with enough specificity that a viewer could replicate them on a first shoot. The timelapse and hyperlapse lesson is similarly concrete, distinguishing a simple sped-up recording from an interval-based photo sequence and explaining why a grid overlay helps keep hyperlapse frames aligned.
The back half of the course shifts from technique to logistics: weather protection, gear security, filming permits, and the specific etiquette of shooting at festivals, nightclubs, and events. This is practical, field-tested advice, down to using a rubber glove as an improvised wind sock, but it reads more like a checklist than instruction, and several segments, including LOG shooting and 4K workflow, are acknowledged by the hosts themselves as techniques they rarely use personally.
That honesty is a mixed signal. It builds trust, but it also means a chunk of the course covers things the teachers concede are optional or secondary to their own workflow. Combined with the total absence of any editing walkthrough, the course reads less as a complete filmmaking education and more as an orientation briefing before the real instruction, presumably the rest of the five-part series, begins. For a true beginner planning a first trip with a camera, it is a genuinely helpful primer. For anyone past the absolute basics, most of the runtime will feel like review.
The standout
The object-glide and motion-blur wipe transitions are taught as concrete, repeatable camera moves that a beginner can shoot and cut together on a first outing.
What you will learn
- How to build a travel video around a beginning-middle-end story rather than a scenic montage
- How to move from auto to manual camera modes and balance aperture, ISO, and shutter speed
- Two specific in-camera transition techniques, the motion-blur wipe and the object glide, with exact shooting and editing steps
- How to shoot both simple long-exposure timelapses and interval-based hyperlapses
- How to protect gear and keep filming through rain, wind, cold, heat, and humidity
- How to secure permits, press passes, and verbal permission before filming events, festivals, and nightclubs
Best for: A beginner solo travel vlogger with a basic camera who wants a broad mental checklist of what to plan for before and during a shoot.
Skip it if: Anyone who already understands exposure and wants a hands-on editing or color-grading walkthrough, since no editing timeline is ever opened.