
Watercolor: Smart Texturing In Photoshop
Jamie Bartlett · Graphic designer and left-handed letterer
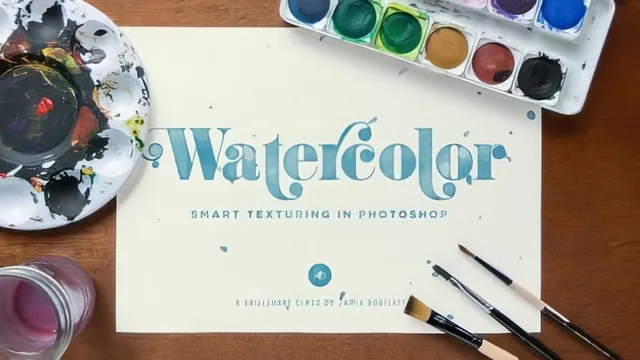
A 19-minute Photoshop trick that turns any text or lettering into a reusable watercolor effect without stock textures.
What it actually teaches
The course is a single, dense demonstration of one Photoshop technique: building a watercolor texture entirely out of render and filter effects, applied non-destructively through nested Smart Objects. Jamie Bartlett opens a document, converts artwork to a Smart Object, then goes a level deeper by resizing the embedded document to match the parent so edits round-trip automatically on save. That nested-object setup is the structural backbone of everything that follows, and it is explained clearly enough that a Photoshop user of moderate experience can follow along without missing a step.
The texture-building sequence itself is the meat of the class: two passes of Difference Clouds, a Filter Gallery stack combining Sponge, Cut Out, and Watercolor at specific settings, then Grain, Stamp, Noise, and a Ripple pass to break up the edges. Bartlett gives exact numeric values for each filter and explains why foreground and background colors need to flip between black-and-white and white-and-black at certain points, since several of these render filters key off which color is active. That detail alone saves a beginner real trial-and-error time.
Strengths and gaps
The Inner Glow and Blend If explanation is the strongest single segment. Splitting the Blend If sliders with Option/Alt to soften a hard transparency edge is a genuinely useful technique that extends well past this one project, and the course frames it clearly as the mechanism controlling how much of the texture shows through the lettering.
The reuse lesson is where the "smart" in the title earns its keep. Option-dragging the built effect onto new artwork, separating thick text from thin linework so Inner Glow can be tuned differently for each, is a practical workflow shortcut that turns a one-off effect into something closer to a reusable asset.
Where the course comes up short is depth and pacing for true beginners. It moves through a dozen filter settings back to back with little explanation of what each filter does conceptually, so a viewer without prior Photoshop fluency will likely need to pause and rewatch several times just to keep up with menu locations and shortcut keys. The background texture lesson, covering a second layered Smart Object with a layer mask for brushing out unwanted texture blobs, is useful but assumes the viewer has already absorbed the pacing of the main lesson without a recap.
At 19 minutes across six short lessons, there is no room for troubleshooting common failure points, no discussion of file size or performance implications of stacking this many Smart Filters, and no variation shown beyond the two example words. The class project brief, picking one word and applying the technique, is appropriately scoped but leaves refinement entirely to the student.
This is a tight, single-technique tutorial rather than a broader education in texture design. It rewards someone who already knows their way around layers, clipping masks, and the Filter Gallery and wants one specific, reusable effect added to their toolkit quickly.
The standout
Dragging the completed Inner Glow and filter stack onto brand-new artwork with Option-drag, so the whole effect regenerates on different lettering in seconds.
What you will learn
- How to convert artwork into a Smart Object and nest a second Smart Object inside it for layered non-destructive editing
- How to build a watercolor texture using Difference Clouds, the Filter Gallery (Sponge, Cut Out, Watercolor, Grain, Stamp), Noise, and Ripple stacked in a specific order
- How to use Inner Glow with Blend If sliders to control edge transparency and softness
- How to transfer the finished effect onto new artwork by Option-dragging layer effects
- How to add a separate textured background layer with a layer mask for selective touch-ups
- How foreground and background color choice affects Photoshop's render filters like Difference Clouds
Best for: Designers and hand letterers already comfortable in Photoshop's layers palette who want a reusable watercolor look for type-based work.
Skip it if: Anyone brand new to Photoshop's interface, or anyone hoping to texture large solid shapes or illustrations rather than text and linework.