
Video Editing: Transforming Footage into Evocative Travel Stories
Oliver Astrologo · Film Director & Photographer
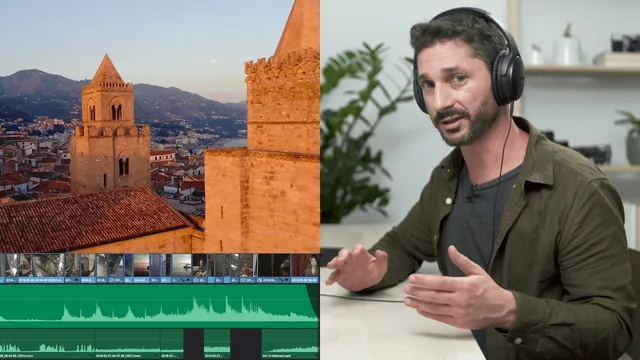
A working filmmaker walks through his real cutting room process for one finished travel film, though the promised DaVinci Resolve tutorial stays mostly conceptual.
Oliver Astrologo's class promises a full post-production pipeline for travel footage, and for the first half it delivers something more useful than most editing tutorials: a way of thinking about story before touching a timeline. The back half, where the course is supposed to get technical, is thinner than the title suggests.
The planning process is the real value
The strongest stretch of the course has nothing to do with software. Astrologo describes shooting his Cefalù, Sicily footage around discoverable local stories, a boat craftsman, a wood carver who started at age five, a fisherman, rather than postcard landmarks, and he is explicit about avoiding obvious sights like a city's most photographed monument. That same discipline carries into an analog planning exercise: he prints his shot list, assigns blue cards to locations and orange cards to people stories, and physically arranges them on a table to find connections between scenes before opening an editor. A theater's history with a local film connects to a nearby pottery maker, a fisherman connects to the boat builder whose work supplies him. It is a low-tech but genuinely reusable method for anyone facing a pile of disorganized clips, and it transfers to any editing software, not just DaVinci Resolve.
The music selection lesson is nearly as strong. Rather than "pick something that fits," Astrologo walks through narrowing a search on Musicbed by mood, genre, and specifically by instrumentation tied to place, noting he avoided castanets for a Catalonia video because the instrument belongs to Spain generally but not to that region. He also demonstrates the same footage cut to two different scores to show how music alone flips the emotional read of a scene, a useful demonstration of how much weight sound carries in a cut.
Where the technical depth thins out
The course bills itself around DaVinci Resolve, and it does cover real ground there: tagging clips by shot type, filtering a media pool by those tags, stabilizing footage with the point tracker, dynamic zoom on 4K footage reframed for an HD timeline, and reformatting a 16:9 timeline into square and vertical crops for Instagram. But each of these moves fast, assuming the viewer already knows the software's basic navigation. Someone who has never opened Resolve will follow the concepts but likely need to pause and hunt for menus that go unexplained.
The color grading lesson is the clearest shortfall. Astrologo explains why grading matters, using blue-to-orange tonal shifts in his London video to track a mood arc from tension to warmth, then hands over a free LUT rather than walking through building a grade from scratch. Viewers get a preset, not a skill.
At 63 minutes across fifteen lessons, the pacing suits someone who wants the story logic more than software mastery. Editors already comfortable in their tool of choice will get the most from it. Those hoping for a from-scratch Resolve walkthrough should look elsewhere, or pair this with a dedicated software course.
The standout
The analog storyboarding method, using colored cards to map every location and story into a connected sequence before opening any editing software, is a genuinely transferable planning technique.
What you will learn
- How to structure footage capture around three-shot coverage (wide, medium, close-up) for any subject
- A concrete method for organizing raw clips into tagged bins by shot type and story before opening the timeline
- An analog pre-editing technique using colored sticky notes to map locations and stories into a sequence before touching software
- How to select music by mood, genre, and instrumentation matched to a location's actual culture, not just a track that sounds nice
- Editing rules for maintaining visual continuity: matching camera movement, framing, and screen position across cuts
- How to shoot in-camera transitions and stabilize or reframe footage in DaVinci Resolve, including exporting square and vertical crops for social platforms
Best for: Hobbyist and semi-pro travel shooters who already have footage and an editing tool and want a repeatable story-structuring process rather than software button-pushing.
Skip it if: Complete beginners looking for a step-by-step DaVinci Resolve tutorial, since the software walkthroughs are brief and assume prior editing fluency.