
Vector Brushes: Building Textured Brushes for Illustrator
Jamie Bartlett · Graphic designer and left-handed letterer
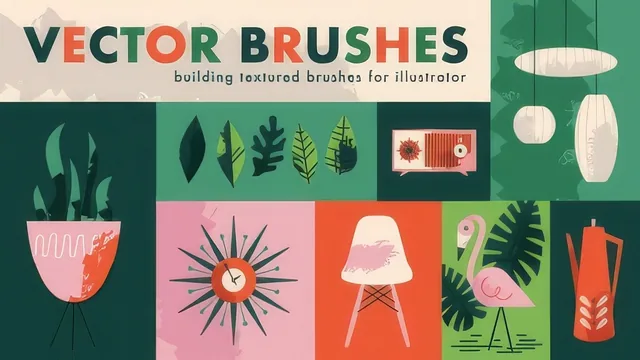
A tight 36-minute walkthrough of three Illustrator brush types that turns hand-drawn scribbles into reusable vector textures for designers who already know the software.
Vector Brushes: Building Textured Brushes for Illustrator is a short, densely packed class that walks through exactly one workflow: turning a hand-drawn scribble into a functioning Illustrator brush, three times over, for three different brush types. Jamie Bartlett does not waste time on theory. The class opens with a supply-gathering exercise (pencils, oil pastels, charcoal, markers) and moves straight into the mechanics of scatter, art, and pattern brushes, each treated as its own mini-project with its own texture requirements.
The structural logic of the course is its strongest feature. Bartlett explains upfront that a scatter brush needs a round texture repeated over an area, an art brush needs a thick-to-thin line that acts like a single stamp, and a pattern brush needs an even-width line that repeats seamlessly. That framing makes the rest of the class easy to follow, because every later decision, like why noise settings matter more for a pattern brush than an art brush, traces back to that initial distinction.
The Image Trace and cleanup process
A recurring thread across all three brush builds is anchor point management. Bartlett repeatedly returns to Illustrator's Image Trace panel, adjusting threshold, corner, and noise sliders while watching the anchor count, and explains why this matters practically: too many anchor points and Illustrator slows down or crashes once a brush is repeated across a path. This is a genuinely useful piece of production knowledge that goes beyond a cosmetic tutorial. The tradeoff is that these settings are described relative to Bartlett's own textures, so a viewer working with a different texture has to translate the underlying logic rather than copy exact numbers.
Where the pattern brush segment excels
The pattern brush build is the technical high point of the class. It requires straightening a wavy hand-drawn line in Photoshop using Puppet Warp, splitting the texture into end caps and a repeating middle section with the Pathfinder tool, then centering the cut points in outline mode so the seam is invisible when the pattern repeats. This is a specific, non-obvious technique that a lot of Illustrator brush tutorials skip entirely, and it justifies the class on its own for anyone who has struggled with visible seams in repeating brush strokes.
The art brush section is comparatively thin. It covers the Stretch Between Guides setting and is honest about the brush's core weakness, namely that any texture placed outside the guide markers distorts when the path is longer or shorter than the original artwork. Showing that limitation directly, with a visibly stretched and squashed example, is a good instructional choice, but the segment offers less new technique than the scatter and pattern sections.
The closing lessons on saving a brush library and applying the finished brushes to a sample illustration of a potted plant tie the class together, including a practical demonstration of masking a scatter-brushed stroke so texture does not bleed past a shape's edges. It is a small but complete illustration of how these brushes function in an actual project rather than in isolation.
At 36 minutes, the class does not waste time, but it also does not linger long enough to fully explain panel locations, tool shortcuts, or Illustrator terminology for anyone newer to the software. Viewers need working familiarity with Image Trace, the Pathfinder panel, and basic Photoshop retouching tools to keep pace. For an intermediate Illustrator user looking for a specific, reusable technique to add hand-drawn texture to vector work, it delivers exactly what it promises, efficiently and without padding.
The standout
The pattern brush segment, where centering the cut points of a repeating texture using outline mode and smart guides prevents visible seams when the brush repeats along a path.
What you will learn
- How to photograph and image-trace hand-drawn textures into clean vector shapes while minimizing anchor points
- How to build a scatter brush with randomized size, spacing, and rotation settings for organic repeating texture
- How to build an art brush with stretch guides and understand its stretching limitations on long paths
- How to straighten a wavy texture in Photoshop using the Puppet Warp tool before importing to Illustrator
- How to build a pattern brush with separate end caps, corner tiles, and a centered repeating middle segment
- How to save custom brushes as a loadable library and apply them to a finished illustration with masking
Best for: Illustrator users who are already comfortable with paths, the Pathfinder panel, and basic Photoshop tools and want a specific, technical method for hand-textured vector brushes.
Skip it if: Complete beginners to Illustrator or Photoshop, since the class moves quickly through panel navigation and assumes fluency with tools like Image Trace, Puppet Warp, and the Pathfinder.