
The Quick Start Guide to Procreate
Jeremy Hazel · Education Through Creation
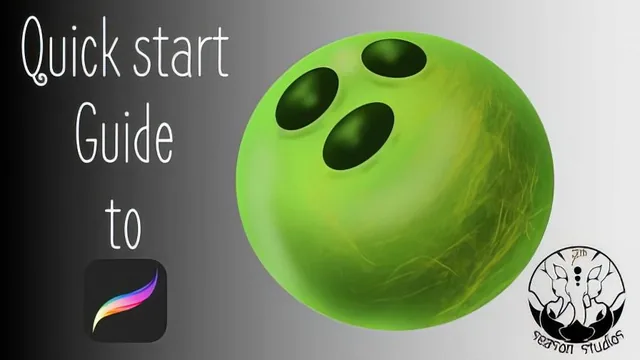
A tight 96-minute Procreate primer that trades depth for speed, teaching the interface and one finished bowling-ball painting rather than mastery.
The Quick Start Guide to Procreate does exactly what its title promises and nothing more. Across 18 short lessons, teacher Jeremy Hazel walks a total beginner through the Procreate interface on an iPad, treating the app the way a driving instructor treats a dashboard: here is what each button does, here is when you will need it, now get in the car.
Structure and pacing
The course opens with an unboxing-style tour of the three main interface zones (the gallery/wrench menu top left, brushes/layers/color top right, and the undo/size sliders on the left edge), then spends several lessons on infrastructure most digital art courses skip: creating a canvas at the right pixel dimensions for print versus screen, managing files into "stacks" (Procreate's folder equivalent), and, notably, shuttling files between an iPad and a Windows PC via Dropbox. That last topic is unusual to see covered at all, and it signals who this course was really built for: a PC user new to Apple's ecosystem, not a lifelong Mac or iPad owner. The back half moves into the actual mechanics of drawing: brushes and their shape-source-plus-grain-source construction, color theory via the hue/saturation/brightness disk and hex codes, the transform tool for resizing and rotating selections, and Alpha Lock for clean, edge-respecting shading.
The course closes with a single guided project: painting a green bowling ball. It is a smart choice of subject because a bowling ball is just a sphere with three holes, which forces the student to apply nearly everything covered earlier, base color fill with Alpha Lock, airbrush shading and highlights, layer duplication for the finger holes, and the transform tool for perspective, in one sustained fifteen-minute build. Watching (and replicating) that single object take shape from a flat circle to a shaded, holed sphere is more instructive than any of the individual technique lessons in isolation, because it shows how the small pieces combine.
What works and what does not
The teaching style is conversational and unpolished, closer to a friend narrating over your shoulder than a scripted tutorial, which suits absolute beginners who find slicker production intimidating. Jeremy is also honest about the software's limits, warning early that automatic pixel selection is not particularly reliable and that Procreate "will not make you a much better artist" on its own, a rare bit of candor for a free promotional course.
The tradeoff is depth. Each topic gets one pass with no reinforcement, brushes are introduced but custom brush-making is barely touched despite being promised, and the entire 96 minutes builds toward one project rather than the two implied by the course description. Experienced digital artists coming from Photoshop or Illustrator will find most of this redundant, since the underlying concepts (layers, selection, raster versus vector) are the same ones they already know, just relabeled. For a first-time Procreate user with zero digital art background, though, it compresses what could be weeks of confused trial and error into an afternoon, which is precisely the job it set out to do.
The standout
The Alpha Masking lesson, which shows how locking a layer's alpha channel lets a beginner soft-shade a shape with an airbrush without ever coloring outside its edges.
What you will learn
- Navigate Procreate's three main menu zones (gallery/wrench, brushes/layers/color, undo/size sliders)
- Move files between iPad and PC using Dropbox as an intermediary folder
- Organize work with stacks, renaming, duplicating and deleting files in the gallery
- Use Alpha Lock to shade inside a shape's pixels without drawing outside it
- Select pixels with the automatic selection tool, invert selections, and split them into new layers
- Build a shaded, three-dimensional bowling ball using layered airbrush shadows, highlights and the transform tool
Best for: A complete beginner who just bought an iPad and Procreate and wants a fast, plain-English orientation before self-teaching from tutorials.
Skip it if: Anyone with prior digital art experience in Photoshop or Illustrator, or anyone hoping to learn shading, anatomy, or composition beyond a single sphere exercise.