
The Knit Sweater Look In Adobe After Effects
Jake Bartlett · Motion Designer
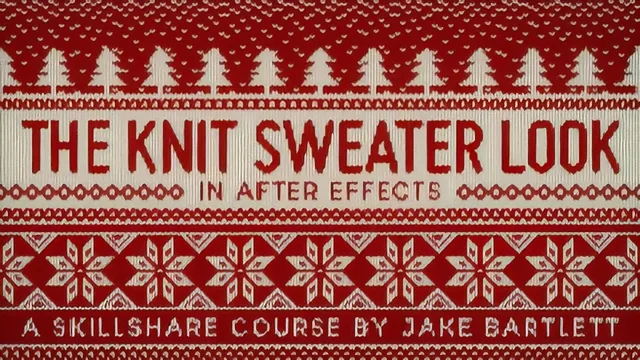
A 38-minute effect tutorial that turns any artwork into knitted texture using a clever expression trick, not raw manual tweaking.
What It Actually Builds
The course walks through a single, well-defined effect: turning any artwork or animation into a knitted-sweater texture using only stock After Effects plugins and a handful of expressions. It opens with CC Ball Action, which breaks an image into a grid of circles, then layers Wave Warp on top, switching from a sine to a triangle wave so the warp reads as jagged V-shapes instead of smooth curves. The insight that makes the technique reusable rather than fiddly is the expression link between wave width and grid spacing (width equals spacing times two, plus two), applied through the pick whip so the two effects always stay proportional no matter how the knit is scaled afterward.
From there the course adds Turbulent Displace at a small size and modest amount to break the perfect symmetry of the grid, which is the detail that sells the illusion of hand-knitted yarn rather than a digital pattern. A second pass builds an actual thread texture out of Venetian Blinds and a noise-based Wave Warp, blended in Overlay mode at reduced opacity, then frozen with Freeze Frame so After Effects doesn't waste render time recalculating a static texture on every frame. A closing pass with Unsharp Mask, Glow, and a Spotlight effect used as an improvised vignette rounds out the color and depth.
Where It Delivers, and Where It Thins Out
The strongest material is the expressions work. Rather than treating expressions as an intimidating black box, the course shows how to generate working code through the pick whip without writing JavaScript from scratch, then explains just enough of the syntax (arrays, Math.round) for the values to make sense. The snow animation lesson extends this same idea to keyframe rounding, solving a real anti-aliasing problem that arises when the knit texture intersects animated elements at fractional pixel positions. That lesson is arguably more broadly useful than the knit effect itself, since the pixel-snapping technique applies to plenty of pixel-grid effects beyond sweaters.
Where the course thins out is pacing and depth of explanation. Numeric values (grid spacing of six, ball size of sixty, turbulence amount of thirty-five) are dialed in by ear with little discussion of why those numbers work, so anyone wanting to adapt the effect to a very different composition size or aesthetic is left to rediscover the ratios by trial and error. The snow animation lesson, while genuinely interesting, is really a separate tutorial on looping precomps and time remapping bolted onto the end of a knit-texture class, and it assumes comfort with precomposing, sequencing layers, and the graph editor.
At under forty minutes total, this is a tight, single-purpose class rather than a broad education in procedural texturing. It succeeds at what it promises: a specific, transferable effect built from stock plugins, explained clearly enough to reproduce, with genuinely useful expression techniques woven throughout. It does not pretend to be more than that, and viewers expecting deeper theory on displacement effects or expression syntax should look elsewhere.
The standout
The expression-linked ratio between wave width and grid spacing removes the tedious manual re-syncing that would otherwise be required every time the knit's scale changes.
What you will learn
- Building a procedural knit pattern from CC Ball Action and Wave Warp on an adjustment layer
- Writing linking expressions so wave width and height auto-update from grid spacing, using the pick whip
- Adding Turbulent Displace to break up an overly perfect pattern into something organic
- Faking a yarn thread texture with Venetian Blinds, noise-based Wave Warp, and an Overlay blend mode
- Freezing a texture layer with Freeze Frame to stop After Effects from re-rendering it every frame
- Applying Math.round expressions to snap position keyframes to whole pixels and avoid anti-aliasing artifacts
Best for: Motion designers and After Effects users comfortable with layers and effects controls who want a fast, reusable procedural texture technique for titles, holiday graphics, or animated art.
Skip it if: Complete beginners unfamiliar with adjustment layers, effects controls, or basic expressions will struggle with the pacing and the light explanation of the pick whip and array syntax.