
The Art of Animation: How to Create Lifelike Movement
Emanuele Colombo · Animator & Motion Designer
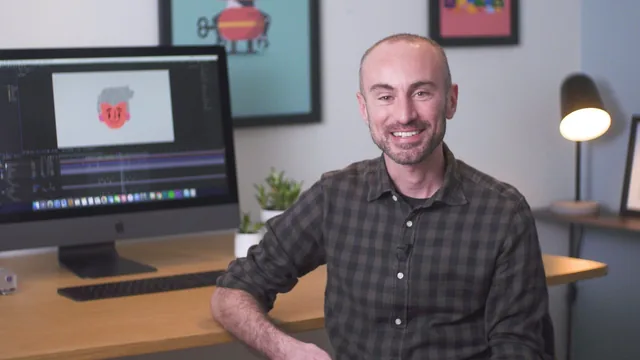
A 58-minute After Effects walkthrough that reduces four of Disney's 12 animation principles to concrete keyframe recipes, best for motion designers who already know the software.
Emanuele Colombo's class has a clear, almost surgical structure. It opens by naming its source (Johnston and Thomas's 1981 book The Illusion of Life) and its scope, four of the twelve classical animation principles, before walking through each one twice: once as an isolated demo on a plain shape, then again applied to a rigged character. That repetition is the course's smartest structural choice. Watching anticipation added to a spinning rectangle first makes the same technique legible ten minutes later when it appears on a character's head movement, instead of asking a viewer to absorb rigging and principle-application in the same breath.
The technical content is specific rather than theoretical. Anticipation becomes a single counter-rotated or counter-positioned keyframe placed a few frames before the main action. Squash and stretch becomes a scale-parameter exercise that depends on disabling After Effects' constrain-proportions lock and correctly repositioning the anchor point, a detail Colombo flags explicitly after showing what happens when you skip it (the head squashes from the wrong point and looks broken). Secondary action gets the most attention of the four, covering ear rotation, eyebrow position and rotation, mouth reshaping via a converted shape layer, and blinking through scale keyframes, all timed against the same head-movement reference point so nothing drifts out of sync.
The expression is the real product
The course's actual value concentrates in one downloadable follow-through expression. Rather than hand-keying the settle-and-bounce that follows a stop, the expression reads amplitude, frequency, and decay values and generates the bounce automatically once a keyframe is converted from eased to linear. Colombo demonstrates tuning it live, dropping amplitude and frequency until an overly bouncy circle settles into something proportionate to the size of the movement. This single tool does more to make the final character animation feel alive than the manual keyframing shown elsewhere, and it is reusable well beyond this one project.
Where it thins out
The closing lesson, covering the puppet tool for bending hair and eyebrows, a looping texture overlay via alpha matte, and a Turbulent Displace adjustment layer for a hand-drawn edge, moves fast and stacks several intermediate techniques with limited explanation of why each choice was made. A viewer without prior puppet-tool or expression-editing experience will likely need to pause and rewatch sections rather than follow in real time.
The class is honest about its own limits. It never claims to teach animation from first principles, illustration, or rigging from scratch, and it stays within motion graphics rather than reaching into traditional or 3D animation. For someone who already animates in After Effects and wants their work to stop feeling flat, the four principles and the follow-through expression alone justify the runtime. For anyone still learning the software's keyframe and parenting basics, the pace will outrun their footing well before the squash and stretch lesson arrives.
The standout
The downloadable follow-through expression, which turns a single linear keyframe into a physically believable bounce with three adjustable parameters, is the one technique worth the course by itself.
What you will learn
- How to identify and apply anticipation by adding a small counter-movement keyframe before a main action
- How to use a reusable expression (with editable amplitude, frequency, and decay values) to automate bounce-based follow through on any parameter
- How to build squash and stretch by animating the scale parameter and disabling constrain proportions for asymmetric stretch
- How to layer secondary action (blinking, ear rotation, eyebrow movement) onto a rigged character using parenting and null objects
- How to add overlapping action by offsetting keyframes a few frames apart across related layers
- How to finish a loop with the puppet tool, a seamless texture overlay, and a Turbulent Displace adjustment layer for a hand-made edge
Best for: After Effects users who already understand keyframes and parenting and want their character animations to stop looking stiff and mechanical.
Skip it if: Complete After Effects beginners, or anyone hoping to learn hand-drawn or 3D animation principles rather than motion graphics workflow.