
Risograph: A Smart Effect In Photoshop
Jamie Bartlett · Graphic designer and left-handed letterer
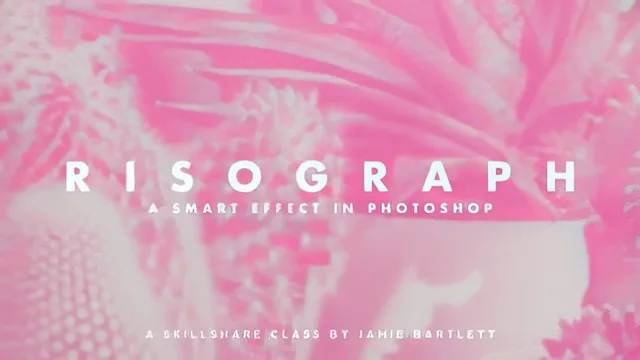
A ten-minute Photoshop trick, not a design course, that turns any photo into a printable halftone poster in six short steps.
"Risograph: A Smart Effect In Photoshop" is exactly as narrow as its title suggests. Jamie Bartlett spends ten minutes walking through one specific effect: turning a photo into the dotted, slightly imperfect look of a risograph print, using nothing but Photoshop filters and adjustment layers. It is not a course about risograph printing, ink separations, or the machines themselves. It is a recipe for faking that look digitally, built to be reused.
The structure mirrors the process itself, which is its biggest strength. Getting Started covers sourcing a photo (Bartlett pulls from Unsplash), sizing the canvas to match a target print dimension, and converting the image to a Smart Object before anything else happens. That ordering matters: doing the conversion first is what makes every later step reversible. Building the Effect then stacks three moves in sequence: Color Halftone at an 8-pixel radius with a 45-degree angle across channels, a Threshold layer to force pure black and white, and a Screen-blended color fill to tint the dots. The class closes the loop with the Filter Gallery's Glass filter, dialed to a 2/6 distortion with Canvas texture, specifically to knock the mechanical perfection off the dot pattern.
Where the technique earns its keep
The adjustment section is where the class becomes genuinely useful rather than just a filter demo. Bartlett shows two different ways to control contrast, one blunt and one precise. Dragging the Threshold slider changes how the dots grow or shrink, but stacking a Curves adjustment layer inside the Smart Object gives finer control over which tones darken and which lighten, and it is saved back into the object so the whole effect updates automatically. That distinction between a fast fix and a considered one is the kind of judgment call a course like this needs to model, and it does.
The resizing lesson is the other unexpectedly practical bit. Rather than treating the 300 dpi print version as the only output, the class shows how to drop resolution to 72 dpi and 1200 pixels for web use, then re-tune the halftone radius and glass distortion because the same settings look wrong at a smaller scale. That is a real problem anyone using this effect will hit, and solving it on screen instead of leaving it as an exercise is a meaningful choice.
Where it comes up short
The ten-minute runtime is both the appeal and the limit. Nothing is explained beyond what to click. Smart Objects, blending modes, and adjustment layers are used fluently but never defined, so a Photoshop novice will be able to follow the clicks without understanding why any of them work. There is also no real discussion of what makes a source photo suit this effect, high contrast versus flat lighting, busy backgrounds versus simple subjects, which would have turned a mechanical tutorial into a design lesson. As a fast, reusable technique for someone already comfortable in Photoshop, it delivers cleanly. As an introduction to the craft behind the look, it does not attempt to be one.
The standout
Converting the base image to a Smart Object before applying the halftone stack, so every filter, color fill, and border stays live and reusable when a new photo is dropped in.
What you will learn
- Building a risograph-style halftone effect with Filter > Pixelate > Color Halftone
- Locking dots to pure black and white with a Threshold adjustment layer plus a Screen-blended color fill
- Roughing up the halftone dots with the Filter Gallery's Glass filter so they read as printed rather than digital
- Working non-destructively inside a Smart Object so the whole effect updates when you swap in a new photo
- Adjusting contrast two ways: a quick threshold tweak or a curves adjustment layer nested inside the smart object
- Resizing the same file for both large-format print (300 dpi) and web sharing (72 dpi, 1200px) without rebuilding the effect
Best for: Photoshop users who already know their way around layers and adjustment layers and want a fast, reusable recipe for poster-style halftone art.
Skip it if: Total beginners to Photoshop, since terms like Smart Objects, blending modes, and adjustment layers are used without any explanation, and anyone wanting to understand risograph printing itself rather than fake it digitally.