
Product Photography: Style and Edit for Stronger Images
Tabitha Park · Product & Food Photographer
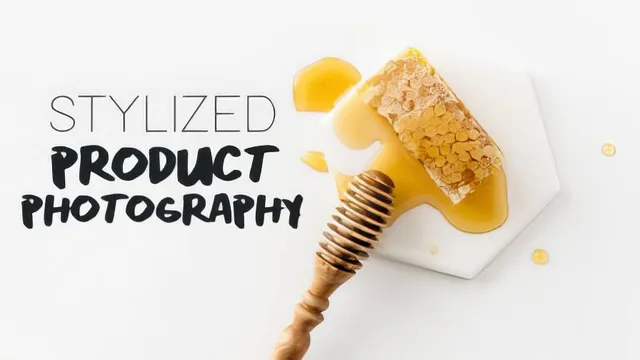
A working photographer walks through her own honey-dipper shoot start to finish, prop choices, light, and three separate edits in one pass.
Tabitha Park's course is built around a single demonstration: styling and shooting a honey-dipper flat-lay from bare table to finished, edited image. That structure is its biggest strength. Rather than lecturing about principles in the abstract, the course shows the reasoning behind each choice as it happens, prop by prop, light adjustment by light adjustment.
The opening section on props and branding is more substantial than it sounds. Park breaks prop selection into four purposes: supporting the story, adding movement or texture, establishing a sense of place, and matching the target audience. The vegan protein bar and bamboo toothbrush examples make an easy-to-skip idea concrete: a prop that contradicts what an audience cares about actively works against the photo, not just neutrally. She also has photographers write out six to twelve adjectives describing the shoot's mood before touching a single prop, a small but useful habit for stopping a shoot from wandering.
Lighting Gets the Most Rigorous Treatment
The lighting section is where the course earns its keep. The core rule, never mix light sources, gets explained with an actual mechanism: overhead bulbs cast shadows straight down while window light comes from the side, and the two combine into shadows of different colors and directions. That's a real technical explanation, not just a stylistic preference. The night-shooting workaround, two identical-temperature lamps, a sheet of tracing paper as a diffuser, and a folded piece of mail as a bounce card, gives anyone without daytime access to a window a genuinely usable setup. Color cast gets a similarly specific treatment: wearing bright clothing near a shoot can tint shadows, which is the kind of detail beginners rarely think to check.
The Edit Sequence Is the Course's Second Pillar
Editing is demonstrated three separate ways on the same photo: Instagram's built-in sliders, the Lightroom mobile app, and Lightroom Classic on desktop. Seeing before-and-after on the identical image across all three tools makes the value of editing hard to argue with, and the desktop pass goes deep enough to cover lens profile correction, white balance via the eyedropper tool, spot healing, and export settings tuned specifically for Skillshare's file size limit. That last detail, exporting at 1800K to avoid upload failures, is the kind of practical fix a lot of tutorials skip entirely.
Where the course comes up short is scope. Everything is demonstrated on non-perishable, non-food props, so anyone hoping for food-styling specifics, working with melting or wilting subjects, will need a different class. The shooting section also runs long relative to its teaching density, with extended real-time styling that repeats ideas already established in the props lesson. And composition gets folded into the same section as lighting and shooting rather than getting its own focused treatment, so rule-of-thirds and framing choices arrive almost as asides.
At 66 minutes, this sits closer to a focused workshop than a comprehensive course, and it is honest about that scope. For someone shooting product photos on a phone who wants to stop posting flat, gray images, the lighting fixes and three-way edit comparison alone justify the time.
The standout
The instruction to never mix natural window light with artificial overhead light, paired with the DIY two-lamp-and-tracing-paper rig for shooting at night.
What you will learn
- How to pick props with a purpose (story, texture, sense of place, audience fit) instead of grabbing whatever looks nice
- Why mixing window light with overhead room lights muddies a shot, and how to diffuse and reflect one light source instead
- A phone-friendly lighting workaround using two matched lamps, tracing paper as a diffuser, and a piece of mail as a reflector
- How to build a layered flat-lay so textures alternate (paper, cloth, ingredient) instead of blending into mush
- A full edit pass in three tools: Instagram sliders, the Lightroom mobile app, and Lightroom Classic on desktop, including white balance and export settings
- How to define a brand's shooting mood upfront with a list of adjectives before picking a single prop
Best for: A small business owner or content creator shooting products on a phone or entry DSLR who wants cleaner, more intentional flat-lay and still-life images.
Skip it if: Anyone after studio strobe technique, food-specific styling, or advanced Photoshop compositing, none of which this course touches.