
Procreate for Tattoo Artists
Jeremy Hazel · Education Through Creation
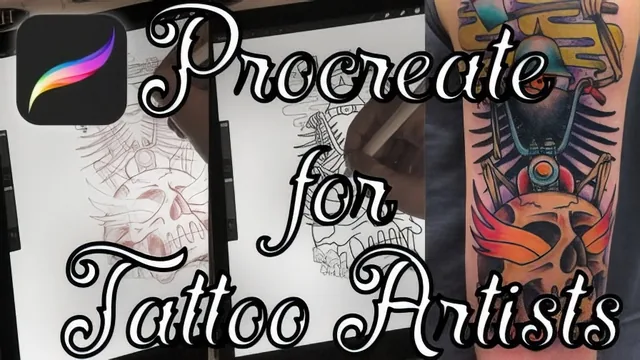
A tattoo-specific 77-minute walkthrough that gets a working Procreate outline-to-stencil workflow running fast, but skips deeper technique.
What it actually covers
Procreate for Tattoo Artists is a short, tool-focused walkthrough built around one recurring example piece: a rose and pin-up nurse design taken from blank canvas to a printable stencil and a colored client preview. The fifteen lessons move in a tight, logical sequence: set up a canvas, understand layers, import references, install brushes, draw a clean outline, then shade and color. Nothing is theoretical. Every lesson sits on top of the same working file, so techniques compound rather than repeat in isolation.
The canvas setup lesson is a good example of the course's practical bent. Rather than explaining DPI in the abstract, it settles on a specific custom preset, a 250 DPI screen-size canvas, and explains why: high enough to print stencils or transfer designs to shirts and stickers, without ballooning file size the way a full 300 DPI document would. That kind of concrete, opinionated default runs through the whole course, and it's the strongest thing about it.
The core workflow
The middle stretch on layers, masking, and references is where the course earns its keep. It walks through grouping multiple sketch layers into one movable unit, using selection-based masks to hide parts of a drawing without deleting anything, and pulling reference images in from a browser or camera roll to trace at reduced opacity. These are genuinely transferable Procreate skills, not tattoo-specific tricks, but they're taught through tattoo-relevant examples like tracing a client's arm photo to fit a design to real anatomy.
The outline-to-stencil sequence is the closest thing to a signature technique. Locking the finished line art as a reference layer means the automatic selection tool can pull shape data from it while all painting happens on separate layers underneath, so the print-ready outline stays untouched no matter how much shading and color get added later. Pairing that with the streamline slider to smooth out shaky pen strokes addresses a real, specific frustration of drawing on glass rather than paper.
Where it comes up short
The course is explicit that it isn't teaching drawing, shading theory, or design composition, and that's a fair boundary for a 77-minute software course. But it means the actual artistic decisions in the shading and coloring lessons go by fast and unexplained, described more as "here's what I'm doing" than "here's why." Viewers with weak fundamentals will come away knowing which buttons to press without a stronger sense of how to shade convincingly.
The pacing is also uneven. Early lessons on layers get a thorough, patient treatment, while coloring, arguably the most client-facing payoff of the whole workflow, is compressed into a single lesson that moves quickly between fill layers, manual color correction, and freehand touch-ups. Newer users may need to rewatch that section more than once.
At 77 minutes across fifteen short videos, this is a tool orientation, not a comprehensive digital-art education. For an artist who already draws well on paper and just needs to know where Procreate's buttons live and how to get from sketch to stencil, it does that job efficiently. For anyone hoping to learn shading or composition, it explicitly won't deliver.
The standout
Locking the outline as a reference layer so the automatic selection tool can shade and color underneath it without ever touching the clean line art is the single most useful workflow trick in the course.
What you will learn
- Setting up a canvas at 250 DPI for reusable print and stencil work
- Building, grouping, and masking layers to manage complex sketches
- Importing, pasting, and tracing photo references directly on the iPad
- Installing and organizing a custom tattoo-style brush set
- Producing a clean line-art outline for stencil printing using streamline settings
- Using the automatic selection tool with reference layers to shade and color a piece
Best for: A working tattoo artist with no digital drawing background who wants a fast, practical path to producing print-ready stencils and client color previews in Procreate.
Skip it if: Anyone already comfortable with Procreate's core tools, or artists hoping for real instruction in drawing, shading theory, or tattoo design itself.