
Procreate for Beginners
Teela Cunningham · Hand Lettering + Graphic Design
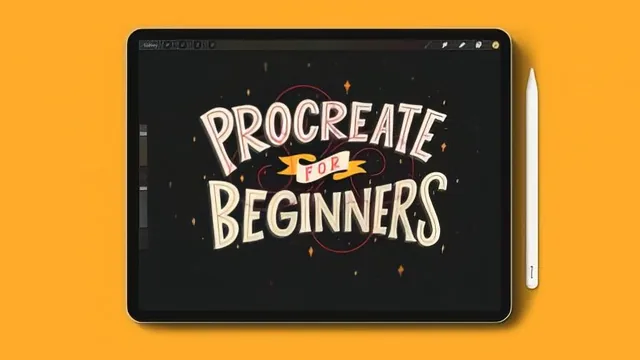
A genuinely thorough tool-by-tool Procreate primer that trades speed for depth, rewarding beginners willing to sit through four full projects.
Procreate for Beginners does what its title promises, and it does it slowly enough that nothing gets skipped. Across 20 lessons and roughly two and a half hours, Teela Cunningham walks through the app from the empty gallery screen to a finished, exportable file, and structures the whole thing around a simple loop: explain a tool, then use it. Every interface lesson (brushes, quick shapes, color palettes, preferences, guides, layers, selections, typeable text) is immediately followed by a project that puts those exact tools to work, so the ideas get reinforced rather than just demonstrated once and abandoned.
Structure and pacing
The course builds in four projects of increasing complexity: Floral, Loopy, Shade, and Beauty. Floral introduces basic layer organization and editable text. Loopy adds clipping masks and blend modes applied to an imported texture. Shade brings in a custom lettering brush and "stackable" clipping masks combined with layer masks to fake depth in hand lettering, a genuinely clever trick where a black-and-white painted mask hides part of a shadow layer to suggest the letters are lifting off the page. Beauty, a wreath design, closes the class by stacking nearly everything covered: quadrant and radial guides, rotational symmetry, layer groups, a watercolor texture clipped into leaf shapes, and a final round of hand lettering. That escalation gives the course real shape instead of feeling like a list of disconnected tips.
The masking material is the strongest stretch of the class. Cunningham draws a clear distinction between clipping masks (tied to whatever layer sits beneath them, easy to reorder and stack) and layer masks (permanently attached to their layer, painted in black and white to reveal or hide). Watching a heart shape get filled with an ink texture via a clipping mask, then watching that same heart gain simulated shadow depth through a painted layer mask in the Shade project, makes the distinction concrete rather than theoretical.
Where it thins out
The lettering-for-font-making lesson is a nice inclusion but functions more as a teaser for the instructor's separate font-making course than a complete workflow, since vectorizing and rigging a font requires Illustrator and software this class never touches. Beginners hoping to walk away with a sellable font will need to look elsewhere for the second half of that process.
The bonus install video, showing exactly how to download brushes, textures, palettes, and project files in both Safari and Chrome, is useful but padded; it repeats the same tap-download-open sequence five or six times for slightly different asset types. A viewer could skip straight to the download page and figure most of it out without the video.
What holds the whole thing together is the consistent emphasis on non-destructive habits: separate layers for every element, labeled and grouped so a file stays editable months later, and export choices (PSD for further editing, JPEG or PNG for social, PDF for print) matched to their actual use case. That discipline is arguably more valuable long-term than any single technique, since it is the difference between artwork a beginner can revise and artwork they have to redraw from scratch.
The standout
The layer mask lesson, which demystifies non-destructive editing with the simple rule 'white reveals, black conceals' and shows it solving a real depth-shading problem in the third project.
What you will learn
- Setting up custom canvas sizes and resolution (DPI/PPI) correctly for web versus print output
- Using clipping masks versus layer masks, including stacking clipping masks and painting mask visibility in black and white
- Building organized, non-destructive layer structures with groups, blend modes, and selections
- Customizing default brushes into lettering brushes by adjusting size and opacity pressure limits
- Creating symmetrical wreath artwork using Procreate's guide and rotational symmetry tools
- Exporting finished artwork in the right file format for print, social media, or handoff to Photoshop
Best for: Someone who has just bought an iPad and Procreate and wants a patient, tool-by-tool walkthrough before attempting their own designs.
Skip it if: Anyone who already knows Procreate's interface and just wants advanced techniques, or someone who wants a fast 20-minute overview rather than a 156-minute build-along.