
Procreate for Absolute Beginners: An In-Depth Intro to iPad Drawing
Molly Suber Thorpe · Calligrapher & Designer
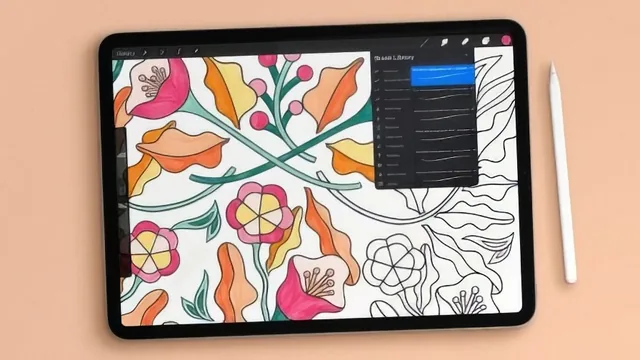
Every Procreate setting gets a plain-language walkthrough, so total beginners stop guessing what DPI or clipping masks actually do.
A settings manual, not a drawing class
Molly Suber Thorpe's course does exactly what its title promises: it is an interface tour, not an art class. Across 38 lessons it moves methodically through the gallery, the new canvas menu, brush settings, layers, and the selection tool, explaining what each button does and why it matters before moving to the next. The opening stretch on canvas creation is the most rigorous part of the course. The DPI lesson, for instance, does not just tell viewers to pick 300 for print, it explains why pixels stretched across a zoomed image pixelate while a higher-resolution file holds up, using a side-by-side comparison of the same design at 150 and 300 DPI. That kind of concrete cause-and-effect explanation is rare in beginner software tutorials, which usually just hand over a checklist of recommended settings.
The middle section covers the tools most beginners actually open the app to use: brushes, the eraser, the smudge tool, and layers. The layers material is the strongest single stretch of the course. It walks through why separating colors and overlapping strokes onto different layers saves rework later, then moves into clipping masks, alpha lock, and blending modes as three related but distinct ways to constrain where color lands. The demonstration where the same rectangle gets recolored first with a clipping mask and then with alpha lock, with the difference in what happens to the underlying pixels made visible in both cases, does more to clarify these tools than most written explanations manage.
Where it thins out
The back half loses some of its earlier discipline. Text tools, guides and symmetry drawing, and reference windows get reasonably full treatment, but sections on file management, cloud backup, and installing third-party brushes read more like a checklist of app features than instruction building toward a skill. The course also never asks the viewer to complete a project. Everything is demonstrated on Thorpe's own artwork, which means a viewer can follow along conceptually but never has to apply a setting under their own judgment, the kind of practice that actually cements software fluency.
The pacing assumes patience. Lessons are short and self-contained, which the course advertises as a strength since viewers can skip ahead to what they need, but it also means some settings get more screen time than their real-world importance warrants, while core drawing technique, brush selection for a specific effect, or how to actually compose an illustration, gets none. This is an interface course, and it is honest about that scope, but a viewer expecting to walk away with drawing skills rather than app fluency will be disappointed.
For what it sets out to do, the course is well organized and unusually clear about the reasoning behind default settings, not just what they are. It succeeds at removing the intimidation factor of Procreate's dense toolbar and menus. Anyone who has already spent a few weeks in the app and knows their way around layers and brushes will find little new here. But someone who has just installed Procreate and does not know where to start will come out the other side able to set up a file correctly, organize their work in layers, and use the core tools without guessing.
The standout
The explanation of clipping masks versus alpha lock, demonstrated by recoloring the same shape both ways, clears up a distinction that trips up most new Procreate users.
What you will learn
- How to set up a new canvas correctly, including custom dimensions, DPI/resolution for print versus screen, and RGB versus CMYK color profiles
- How to navigate the gallery to import, export, stack, and back up files via iCloud, Google Drive, or AirDrop
- How to use the color palette's five tabs, including hex code entry and building color harmonies
- Core drawing tools: brush pressure sensitivity, the eraser, smudge tool, and the selection tool's freehand, automatic, and threshold options
- How layers work, including clipping masks, alpha lock, blending modes, and layer masks for non-destructive recoloring
- How to use guides and Drawing Assist, including symmetry grids, to build structured compositions
Best for: Someone who has just opened Procreate for the first time and wants a single, ordered walkthrough of the interface before touching a tutorial project.
Skip it if: Anyone who already knows Procreate's basics and wants technique-focused lessons on illustration, lettering, or painting rather than interface mechanics.