
Portrait Photography: Working with Natural Light
Benjamin Heath · Photographer
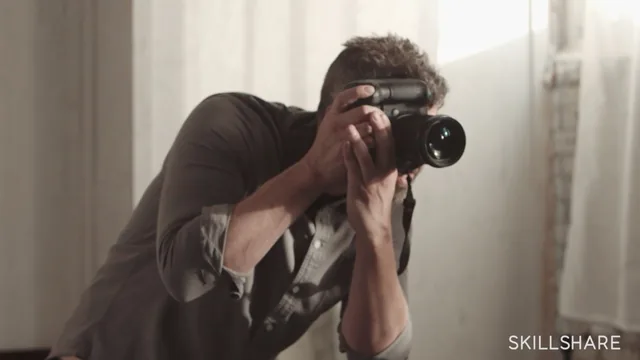
A working photographer walks two real shoots start to finish, but the talk-aloud technique is thinner than the results deserve.
This class is built around two shoots rather than a syllabus, and that choice defines everything good and thin about it. Ben Heath takes viewers to Beam & Anchor, a Portland furniture shop, to photograph its owners in mixed and natural light, then moves into his own studio to work with two experienced models under controlled conditions. The structure mirrors a real assignment: scout, shoot, edit. What it does not do is stop often enough to unpack why a given choice works, which makes the class better suited to someone who already has a foundation than to someone building one from scratch.
What the shoot segments actually teach
The location work is where the course earns its keep on planning. Heath explains why he avoids mixing tungsten and daylight in the same frame, describing the yellow-orange cast it leaves even after a white balance correction, and he uses the shop's skylights and big windows as a live example of good indoor light. The equipment section is similarly concrete: a 50mm prime as his default portrait lens, a 35mm for environmental shots that include the space around a subject, and a 70-200mm f/2.8 for extreme compression and background falloff, plus a warning against going wider than 35mm because of perspective distortion. The studio segment adds harder technical ground, showing how to diffuse direct sun with screens, bounce light back onto a shadowed cheek, and deliberately underexpose a backlit shot so the highlights survive, with the shadows rebuilt later in editing. That underexposure habit, applied consistently across both the harsh-light and golden-hour setups, is the one idea a viewer could carry into their own shoots and immediately get more usable files.
Where it thins out
Much of the on-location and studio footage is Heath directing his subjects in real time, useful for seeing a working photographer's posing rhythm but light on explained technique. A viewer has to infer the reasoning from watching rather than hearing it stated plainly, which suits an intermediate audience but will frustrate anyone still learning basic exposure or composition. The editing lesson is the strongest stretch of the whole class: Heath walks through his Lightroom panel move by move, lifting shadows by specific increments, correcting lens distortion with profile corrections, and desaturating a distracting green cabinet, then moves into Photoshop to clone out a fire escape ladder and separately brighten a backlit subject's face using a duplicate layer and levels. That segment alone justifies the runtime for anyone who already shoots but struggles to finish a file.
The assignment, three to five photos of two or more people in two different locations, is a reasonable and achievable brief, though the feedback loop depends entirely on Skillshare's community rather than the instructor. At 40 minutes total, this plays more as a case study in one working photographer's process than a structured curriculum, which is honest to what it delivers but worth knowing going in.
The standout
Deliberately underexposing for the brightest part of a harsh-light or backlit scene, then rebuilding shadow detail in Lightroom's Tone Curve without blowing out the highlights.
What you will learn
- How to scout a location for light, avoiding mixed tungsten-and-daylight sources indoors and choosing golden hour for outdoor shoots
- Lens choices for portraits: a 50mm as the default, a 35mm for environmental shots, and a 70-200mm f/2.8 for compressed, blown-out backgrounds
- How to diffuse harsh sun with screens and bounce fill light onto a subject's shadowed side in a studio setup
- A deliberate underexposure technique for harsh-light and backlit shots, protecting highlights so shadow detail can be recovered later
- A full Lightroom workflow for lifting shadows, taming highlights, correcting lens distortion, and neutralizing distracting background colors
- A Photoshop clone-stamp fix for removing background clutter, plus a face-only exposure boost using a duplicate layer and levels
Best for: Intermediate photographers who already own a DSLR and understand basic exposure but want a real-world model for reading light and finishing files in Lightroom and Photoshop.
Skip it if: Total beginners who need camera-settings fundamentals explained, or anyone who wants a structured lighting-theory course rather than a shadowed-along shoot.