
Portrait Photography: Shoot & Edit Instagram-Worthy Shots
Jessica Kobeissi · Photographer
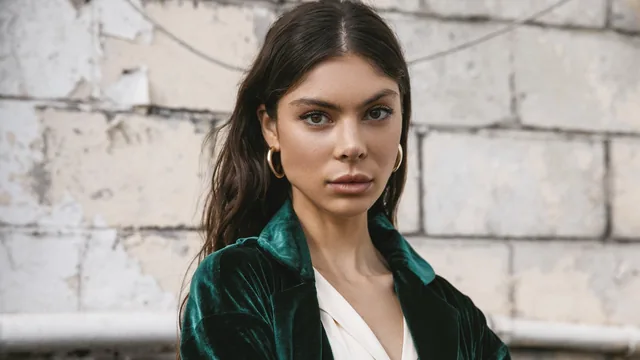
A working YouTuber-photographer walks through one real shoot start to finish, but the 88 minutes cover ground fast and skip most technical fundamentals.
Jessica Kobeissi structures this class the way she structures a shoot: plan, shoot, select, retouch, edit. That arc is the course's biggest strength. Instead of a list of disconnected tips, viewers watch one continuous project, a street-style look against a "ugly" textured wall and a sunset look in a park with a pink dress, carried all the way from concept to a finished, postable image. The through-line makes the class easy to follow and gives every technique a visible payoff.
What the shoot sections actually teach
The planning lesson is more useful than it sounds. Kobeissi explains how she scouts locations by looking for a single usable patch of background rather than a whole pretty setting, how she chases either harsh midday light or the hour before sunset depending on the mood she wants, and how she finds models without an agency by DMing people with interesting faces or tracing tagged photographers in a new city. That last bit, screenshotting a model's own outfit or hairstyle choices from Instagram and asking her to recreate them for the shoot, is a genuinely transferable trick for anyone shooting on a budget. The gear segment stays lean: a 24-70mm 2.8 for wide editorial framing, a 50mm 1.4 for portraits, and a reflector she holds herself with no assistant. On location, she narrates her aperture and ISO choices in real time as clouds move in and out, which gives a sense of how a working photographer adjusts on the fly, though it assumes the viewer already understands what those settings do rather than teaching them from zero.
Selecting, retouching, and editing
The culling lesson is a quiet highlight: rating frames one through five in Lightroom, filtering down to five-star shots, and comparing near-identical takes side by side to explain why a slightly raised chin or a visible sliver of neck wins over the alternative. It is a rare look at the decision-making most tutorials skip. The retouching lesson leans entirely on frequency separation, done through a pre-built Photoshop action rather than built from scratch, which makes it fast to follow but less educational for anyone who wants to understand what the action is actually doing under the hood. The two editing lessons cover different paths: a full Photoshop stack of gradient maps, black and white luminosity layers, and selective color adjustments for the street shot, and a leaner Camera Raw pass using split toning and camera calibration for the sunset shot. Both are recognizable as her actual editing style, not a simplified classroom version.
Where it falls short
At 88 minutes across eleven lessons, the class trades depth for pace. Camera settings are mentioned but never explained, so a true beginner will see numbers change without understanding why. The retouching and editing lessons work as a "watch over my shoulder" experience rather than a step-by-step tutorial someone with no Photoshop background could replicate unaided, since several tool choices depend on judgment calls explained only briefly. The stated openness to "all levels" is optimistic. The class rewards someone who already owns a camera, knows basic manual exposure, and has opened Photoshop before, and it hands that person a clear, personality-driven workflow to borrow from. Anyone earlier than that will come away inspired but still needing a separate class on fundamentals.
The standout
The frequency-separation retouching demo, where a downloadable Photoshop action splits the image into a texture layer and a color layer so skin can be smoothed on the low-frequency layer without losing pores or fabric detail.
What you will learn
- How to scout an unglamorous location and shoot a tight crop that hides the ugly surroundings
- How to plan a shoot around light: harsh midday sun versus soft golden hour, and how to find and brief a model with no agency access
- Practical posing cues for elongating legs, creating neck shape, and directing movement shots
- A repeatable Lightroom culling workflow using star ratings to narrow hundreds of frames to a handful of finalists
- Frequency separation skin retouching in Photoshop using a pre-built action, plus a full color-grading stack of gradient maps, curves, and selective color
- A faster Camera Raw-only edit path for when there is no time for a full Photoshop pass
Best for: Beginner to intermediate portrait shooters who already own a DSLR and some Photoshop familiarity and want to see one photographer's real planning-to-edit workflow rather than isolated tips.
Skip it if: Complete beginners with no camera or editing software, or anyone wanting technical depth on exposure theory, lighting gear, or Photoshop fundamentals rather than a demonstration.