
Night Photography: Shooting Street Scenes After Sunset
Sean Dalton · Travel Photographer
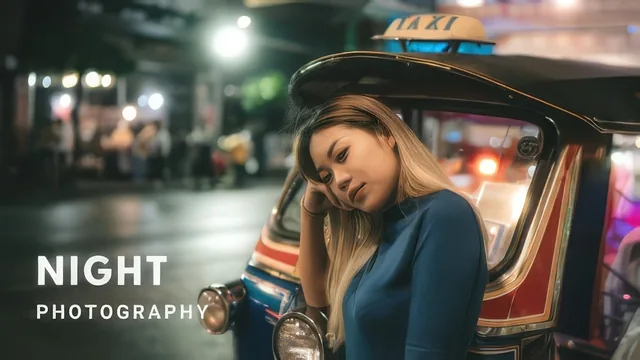
Sean Dalton spends 59 minutes on one night shoot in Bangkok, delivering a compact but genuinely useful low-light exposure workflow.
A short course built around one shoot
Night Photography: Shooting Street Scenes After Sunset is exactly as long as it sounds: a single, tightly wound hour that follows Sean Dalton from a studio gear rundown to a live shoot in Bangkok's Chinatown and back to a Lightroom edit. There is no filler unit on photography history or camera anatomy. The course opens with lenses and camera bodies, moves into a settings framework, covers how to scout ambient light, then spends its middle stretch on location before closing with post-processing. That arc, plan, shoot, edit, mirrors how a working photographer actually operates, and it gives the course a sense of momentum that many longer, lesson-padded courses lack.
The gear segment is more opinionated than most quick-hit tutorials. Dalton ranks lenses by maximum aperture rather than focal length, arguing that an f/1.4 or f/1.8 prime does more for night work than a sharper or pricier zoom. He is also candid that a modern smartphone's night mode can rival a several-thousand-dollar setup, which tempers the course's insistence on DSLR or mirrorless gear without abandoning it.
The settings method is the core value
The single most transferable idea is the ordered three-step settings routine: lock shutter speed first (he defaults to roughly 1/160th for handheld shots), open the aperture as wide as the lens allows, and use ISO last to fill whatever exposure gap remains. It is not a novel concept to anyone who already understands the exposure triangle, but sequencing it as a fixed checklist gives less experienced shooters a decision order to fall back on in the moment, rather than fumbling between three dials with no priority.
The Chinatown segment is where the course either earns its keep or does not, depending on what a viewer wants. Three setups get demonstrated: a handheld portrait at f/1.4, a panned motion-blur shot of passing tuk-tuks at a slower shutter speed, and a tripod-mounted long exposure for light trails. Each comes with the exact shutter speed, aperture, and ISO spoken aloud, which is a small but genuinely useful touch for anyone trying to reverse-engineer the look. The editing lesson that follows in Lightroom walks through basic tone adjustments, HSL color tuning, split toning, and a luminance-based noise reduction pass on a 4000 ISO frame, giving the noise-reduction advice concrete before-and-after stakes rather than abstract sliders.
Where it comes up short
The course's brevity is also its limit. Concepts like exposure triangle fundamentals, filter use, or focus-stacking for night scenes get a sentence or two before Dalton redirects to his own longer Photography Essentials course. That cross-promotion happens often enough to feel like a structural choice rather than an occasional aside, and it means viewers hoping for exhaustive technical grounding will need to buy a second course to get it. The class project, posting a single night photo, is minimal and offers little structured feedback loop beyond peer comments.
For what it is, a compact field-and-edit walkthrough rather than a comprehensive technical manual, it delivers cleanly. Photographers who already own a fast prime lens and just need a workflow to organize their instincts around will get real value in under an hour. Those wanting deep theory or an in-depth look at filters, flash, or advanced compositing should look elsewhere.
The standout
The three-step settings method, shutter speed, then aperture, then ISO, gives beginners a clear decision order for any dark scene instead of vague advice to just raise ISO.
What you will learn
- How to choose gear for low light, prioritizing wide-aperture prime lenses over camera body specs
- A repeatable three-step settings sequence: shutter speed first, then aperture wide open, then ISO last
- How to use a tripod and slow shutter speeds (around 10 to 20 seconds) to capture light trails from passing traffic
- How to shoot handheld motion-blur shots by panning with a moving subject at a slower shutter speed
- How to evaluate ambient light quality, strength, and direction before choosing a composition
- A three-stage Lightroom edit process covering basic tone adjustments, HSL color work, split toning, and noise reduction
Best for: Photographers who already own an interchangeable-lens camera and want a fast, concrete framework for exposure decisions after dark.
Skip it if: Anyone shooting only on a smartphone or wanting deep technical detail on exposure theory rather than a demonstrated on-location workflow.