
Motion Graphics in Cinema 4D: Design an 80s-Inspired Animated GIF
Gustavo Torres · Art Director | Motion Designer
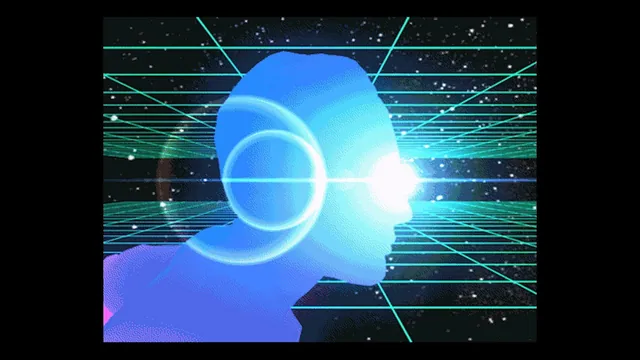
A working motion designer walks through his exact Cinema 4D-to-After Effects-to-Photoshop pipeline for one signature looping GIF, not a beginner tutorial.
Gustavo Torres's class is less a lesson plan than a screen-recorded studio session. In just over an hour, spread across ten short lessons, he rebuilds one of his signature Tumblr GIFs from a napkin sketch through a finished, looping, retro sci-fi landscape. The value here is watching a specific, idiosyncratic pipeline rather than absorbing a curriculum, and the course is upfront that it expects a viewer who already knows their way around a Cinema 4D interface.
The build itself
The Cinema 4D middle section is the meat of the class. Torres starts with a single Landscape primitive, then layers a Cloner Object, an Atom Array for the wireframe look, and a Symmetry Object to multiply three mountain variants into an endless-feeling range. It is a genuinely clever, non-obvious combination of parametric tools, and the explanation of reducing Atom Array subdivisions and sphere counts to keep the viewport responsive is a practical detail many tutorials skip. The sun gets similar treatment: a cylinder cut by a cube Cloner through a Boolean operation produces the tiled, sliced disc that anchors the composition. Materials follow, using pure luminance channels and a 2D gradient rather than complex shader networks, which keeps the look flat and poster-like on purpose.
The animation lesson is comparatively thin. Torres sets Key Interpolation to Linear, keyframes the sun's Y position and the mountain group's Z position, and relies on eyeballing the loop point rather than any numeric or expression-driven method. He says outright that his process is artistic rather than mathematical, which is honest but also means viewers hoping for a rigorous loop-timing technique will come away without one.
Post production and export
The After Effects section covers more ground than its runtime suggests: a gradient sky, an adjustment-layer glow, a Tritone color grade, turbulent noise built as a separate precomposed scratch layer, and a faux stereoscopic RGB split using the 3D Glasses effect misapplied to a flat composition. None of it relies on third-party plugins, which is a deliberate and useful constraint for anyone without a large plugin budget. The final Photoshop export lesson is short but concrete, walking through GIF color depth, lossy compression, and dithering settings tuned specifically to hit old Tumblr file-size caps.
Where it falls short
The class assumes fluency with Cinema 4D's Object Manager, coordinate system, and shortcuts, and it moves through menu clicks quickly enough that a true beginner will lose the thread within the first ten minutes of the building section. There is no discussion of render times, troubleshooting, or alternative approaches if a step does not work as shown, and the sketching lesson is more mood-setting than instructional. What it delivers well is a transparent look at one artist's exact settings and reasoning, down to specific filter choices like the Mitchell anti-aliasing filter and frame-rate matching between project and render settings. For the right viewer, an intermediate 3D artist who wants to reverse-engineer a specific visual signature, that transparency is worth more than a slower, more padded beginner course.
The standout
The Cloner plus Atom Array plus Symmetry object combination for building an infinitely repeating, wireframe-styled mountain range is the single technique most worth the price of admission.
What you will learn
- Building modular, cloneable mountain ranges with Landscape, Cloner, Atom Array, and Symmetry objects
- Constructing a wireframe-tiled sun using a cylinder, cube cloner, and Boolean subtraction
- Setting linear keyframe interpolation and animating position offsets to create a seamless landscape loop
- Building luminance-based materials and gradients for a retro sci-fi color palette
- Layering After Effects finishing touches: glow, tritone color grading, turbulent noise scratches, and a faux RGB-separation effect
- Exporting and compressing a loop-ready GIF in Photoshop with color, lossy, and dithering settings tuned for file size limits
Best for: Intermediate Cinema 4D users who already know the basic toolset and want to see a working artist's real production workflow for a specific retro-loop aesthetic.
Skip it if: Complete beginners to Cinema 4D or After Effects, since the class moves through menus and shortcuts quickly and assumes existing fluency with both applications.