
Mastering Digital Art: Basics to Final portrait
Chloe Rose · Artist, Youtuber, Youtube.com/mschlosey
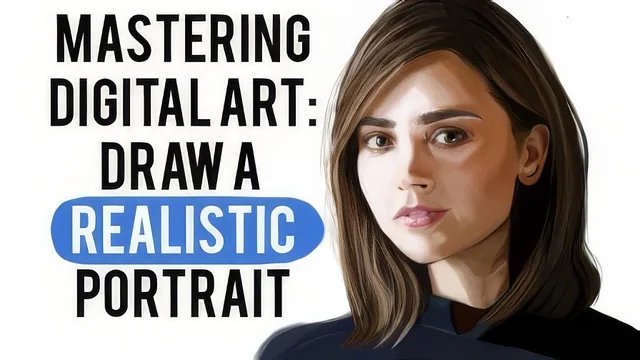
A veteran freelance artist walks beginners through her entire Photoshop portrait process, but the course assumes you already know how to draw.
This class promises to take students from digital art basics to a finished portrait, and it delivers on the software and workflow side while leaning heavily on the instructor's own intuition for the drawing side.
What the course actually covers
The opening lessons are genuinely useful groundwork: a comparison of screen tablets (Wacom Cintiq) against cheaper non-screen tablets (Wacom Intuos, Huion), a rundown of paid versus free software (Photoshop, Paint Tool SAI, Krita, GIMP), and a clear explanation of resolution, why 72 DPI is fine for screen work but printing needs 300 DPI. These sections are practical and platform-agnostic enough that a student using any painting program can follow along, since the interface concepts (brush tool, opacity, flow, layers) map across most software.
The middle stretch covers brushes in real depth: what they do, how to load custom brush sets via the brush menu's "load brushes" option, and how opacity and flow control blending. The instructor repeatedly returns to a specific piece of advice, that new artists tend to under-commit to color intensity and end up with flat, washed-out faces, and that bold color blocks blended down in opacity produce more realistic results than timid, low-opacity layering from the start.
Where it thins out
The sketching and feature-drawing lessons are where the course shows its limits. The method taught for accuracy, mentally measuring distances between features (eye corner to nose, nostril to nostril, mouth width against pupil position), is a real and useful trick, but it is explained verbally over a live demonstration rather than broken into a repeatable system. A student without prior sketching experience will struggle to extract a transferable method from watching someone else eyeball proportions on their own reference photo.
Light and shadow gets a solid conceptual pass, explaining how cheekbones, brow bones, and the tip of the nose catch highlights because they physically protrude, while eye sockets and the sides of the nose fall into shadow. This is legitimate portrait-shading theory, but it's delivered as narration over a single example face rather than reinforced with multiple reference comparisons.
The color and blending lessons for eyes, nose, lips, and hair are the most hands-on part of the class, walking through building up hair in layers from a dark base to lighter highlight strands, softening lip color transitions, and adjusting facial feature placement using the selection and transform tools rather than redrawing from scratch. This is a genuinely handy workaround worth knowing.
Verdict
As a tour of one working artist's Photoshop habits, brush choices, and blending logic, the class delivers real value, particularly for anyone who already sketches but wants to see how a professional handles color, layers, and light in a portrait. It is not a foundational drawing course despite the "basics" framing, since anatomy, proportion theory, and sketching fundamentals are treated as assumed knowledge rather than taught. Beginners with zero drawing background will likely finish the 108 minutes with a better sense of software and tools but no clearer idea of how to actually construct a face from scratch.
The standout
The reference-measurement technique for sketching, using visual distance comparisons between features like eye corners and nostrils to keep a portrait proportionally accurate.
What you will learn
- How to choose tablets (screen vs. non-screen) and budget-friendly software like Krita and GIMP
- Setting canvas resolution correctly for screen versus print output (72 DPI vs 300 DPI)
- How to build and load custom brush sets and control opacity/flow for blending
- A layer-based workflow for sketching, shading, and separating hair from skin
- Visualizing proportional distances between facial features when sketching from a reference photo
- Rendering eyes, nose, lips, and hair with color blocking, then softening edges for a painted finish
Best for: Someone who can already sketch a recognizable face and wants to learn the digital painting workflow, tools, and blending habits on top of that skill.
Skip it if: Complete art beginners with no drawing experience, since the class skips anatomy and proportion fundamentals and expects competent sketching skill going in.