
Mastering Adobe Illustrator Tools & Techniques for Creating Geometric Grid-Based Designs
Evgeniya & Dominic Righini-Brand · Graphic Design & Photography
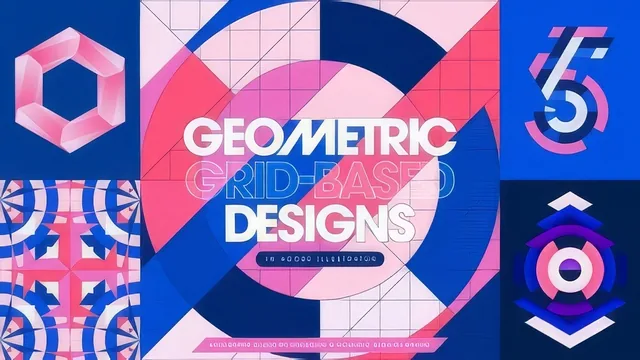
Twenty lessons of real Illustrator mechanics for building custom geometric grids, not just another shape-tool tutorial for beginners.
A workflow course, not a style tutorial
This class does not open with a finished poster and reverse-engineer it. It opens with document setup: pixel units, artboard proportions chosen for clean division (1200 by 1200, because 12 divides evenly), color mode, raster effects resolution, and a full pass through Illustrator's preferences panel to lock in Snap to Point tolerances and Smart Guide construction angles. That is an unusual amount of time to spend before a single shape gets drawn, but it sets up the entire rest of the course. Every later technique depends on snapping behaving predictably, and the instructor is explicit that Document Grid and Pixel Grid must be disabled so Smart Guides and Snap to Point can do their job. Viewers who skip this section and jump to the grid-building lessons will likely find their shapes refusing to align the way the instructor's do.
The middle stretch is where the course earns its "intermediate" label. Standard grids get built with the Split Into Grid command for rectangular and square layouts, then the same logic extends to polar grids (regular and irregular ray/ring counts), isometric and hexagonal grids, and combinations of more than one grid type layered together. From there the course moves into genuinely custom territory: adding linear elements with the Line Segment, Pen, and Arc tools, each explained with its own quirks (the Arc tool's slope keyboard controls, the difference between open and closed arcs, when C or F or X changes the shape). A full lesson is dedicated to keyboard modifiers on the Rectangle, Ellipse, Polygon, and Star tools, useful because polygon and star radius values are what let shapes interlock precisely within a grid module.
From lines to finished compositions
The pivot from linear grid to shape-based design is handled cleanly: select the grid and a bounding rectangle, run Pathfinder Divide to convert intersecting lines into closed paths, then ungroup and recolor. The Live Paint Bucket technique that follows is the course's best single idea. Cycling through a swatch group with arrow keys while dragging across adjacent modules turns coloring dozens of small shapes into a fast, exploratory process rather than a tedious one, and it stays non-destructive until the design is expanded. Later lessons cover merging same-colored modules with Pathfinder Unite or the Lasso tool, adding stroke with inside alignment to avoid doubled edges at tile boundaries, and creating gaps between shapes with the Offset Path effect, useful for masking or layering over texture.
The course closes with pattern tiling through the Pattern Options panel and a genuinely practical export lesson covering the RGB-versus-CMYK decision, DPI settings for web versus print, and anti-aliasing choices that avoid gaps between adjacent paths in raster exports.
The tradeoff is pacing. Twenty lessons over roughly four hours means some sections, particularly the shape-tool keyboard controls and the pathfinder cleanup steps, move quickly and reward pausing or rewatching. There is also no dedicated typography or logo project walked start to finish. The techniques clearly apply to those outputs, but the course teaches the toolkit rather than a single polished case study, so viewers need to supply their own project to practice on. For anyone comfortable with Illustrator's basics and wanting a structural, precision-first approach to geometric design, that tradeoff is a fair one.
The standout
Turning a linear grid into a paint-by-numbers composition with the Live Paint Bucket tool, cycling swatch colors with arrow keys while dragging across modules, is the fastest way in the course to go from grid to finished composition.
What you will learn
- How to configure Illustrator's document units, artboard size, and preferences (Snap to Point, Smart Guides, construction angles) for pixel-precise grid work
- How to build standard grids: rectangular/square via Split Into Grid, polar, isometric, and hexagonal, then combine them
- How to add custom linear elements with the Line Segment, Pen, and Arc tools, snapping to grid intersections
- How to convert a linear grid into shapes using Pathfinder Divide, then recolor and merge modules with the Live Paint Bucket and Shape Builder
- How to style finished grids with stroke alignment, offset path gaps, and pattern tiling for repeatable surface patterns
- How to export finished work correctly for web (PNG/JPEG, sRGB) versus print (CMYK, TIFF, 300 DPI)
Best for: Intermediate Illustrator users who already know the basic tools and want a repeatable, precision-based system for generating patterns, icons, or lettering from geometric grids.
Skip it if: Complete beginners to Illustrator, or anyone who wants a quick styling tutorial rather than a full grid-construction workflow.