
Master an Amazing 2-Point Perspective Interior Sketching
Olga Sorokina · Artist, book author, teacher
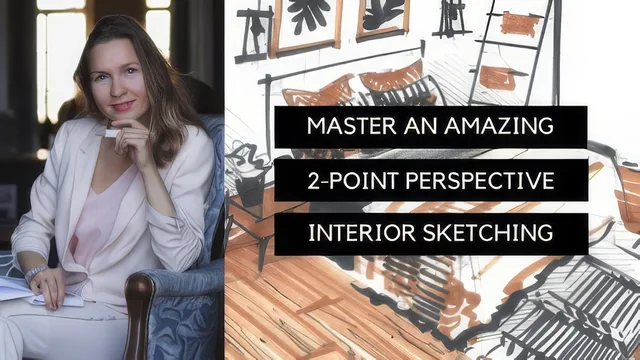
A tight 32-minute drill in two vanishing-point tricks that gets you sketching a furnished room fast, no fluff attached.
Olga Sorokina's class does one thing and does it in under half an hour: it teaches two-point perspective by having you build a scaled grid, then use that grid to draw and color a bedroom. There is no padding. Six lessons, most under five minutes, move from bare theory to a finished colored sketch without lingering.
Two methods for one grid
The course's real backbone is a pair of construction techniques, both aimed at the same target: a perspective grid on the floor that can be extended to walls and ceiling. The first method starts with a horizon line, a vertical divided into three equal parts, and two vanishing points, then uses diagonal intersections to multiply a single square into a full checkerboard of squares receding into space. The second method, which Sorokina calls her favorite and the one she actually uses for professional work, sets the distance between the two vanishing points equal to the diagonal of the picture frame, then builds a horizontal and vertical ruler to generate the same kind of grid more systematically. Watching both back to back is useful precisely because they solve the same problem two different ways, so a viewer who finds one confusing has an immediate alternative.
Once the grid exists, each square represents a fixed real-world distance, tied to a chosen scale such as one meter to two centimeters. That single idea, that a hand-drawn grid can double as a measuring tool, is what makes the rest of the class work, and it is explained clearly enough that a total beginner should be able to replicate it with just a ruler and pencil.
From grid to bedroom
The fourth lesson is where the grid gets put to use. Sorokina builds a bedroom step by step: corner of the room first, then a scale ruler along one wall, then the bed as a plain box, then a side table, a doorway, a shelf, artwork aligned using diagonal-intersection midpoints, a headboard, pillows, a chair, and finally two ceiling lights positioned by projecting diagonals down from the ceiling plane. The recurring lesson underneath the specifics is to block every object as a simple geometric volume before adding any curve or detail, which is a genuinely transferable habit for anyone sketching interiors from imagination rather than a photo.
The final coloring lesson is the thinnest part of the course. It covers marker technique at a demonstration pace, chisel tip for hard architectural edges and brush tip for softer textile folds, using only brown, black, and the white of the paper. It looks attractive on screen but explains little about why particular colors or values were chosen, and viewers hoping for a real coloring tutorial will likely feel shortchanged.
That thinness is the class's main limitation. Because everything happens in 32 minutes, individual explanations move fast, especially the lighting construction near the end of the bedroom lesson, and a first-time viewer will probably need to pause and rewatch sections rather than follow along in real time. The class is honest about its own scope, though. It promises a beginner introduction to two-point perspective and a single guided project, not a comprehensive course in interior rendering, and on those specific terms it delivers a clean, well-organized foundation worth the short time it asks for.
The standout
The repeated-square method for extending a two-point perspective grid across floor, walls, and ceiling using only diagonals and vanishing-point lines is worth the whole class on its own.
What you will learn
- How to place a horizon line, eye level, and two vanishing points using the picture-frame diagonal trick
- Two distinct methods for building a scaled perspective grid on the floor, walls, and ceiling using a repeated square and diagonal-intersection technique
- How to block out furniture as simple geometric volumes (cubes) before adding detail, using a bed, side table, chair, and shelf as examples
- How to convert real-world measurements into a paper scale (e.g., 1:50) and apply it consistently across a room drawing
- How to sequence a full pencil sketch of a bedroom from picture frame to finished furniture layout, including lighting fixtures aligned to vanishing points
- Basic marker coloring technique using chisel and brush tips to render flooring, textiles, and highlights with a minimal palette
Best for: Complete beginners and interior design or architecture students who want a fast, practical entry into freehand two-point perspective sketching.
Skip it if: Anyone who already understands vanishing points and scale grids, or who wants an in-depth exploration of furniture rendering, lighting, or advanced coloring technique.