
Let's Draw: Sketch Realistic Eyes with Pencils
Gabrielle Brickey · Portrait Artist - ArtworkbyGabrielle.com
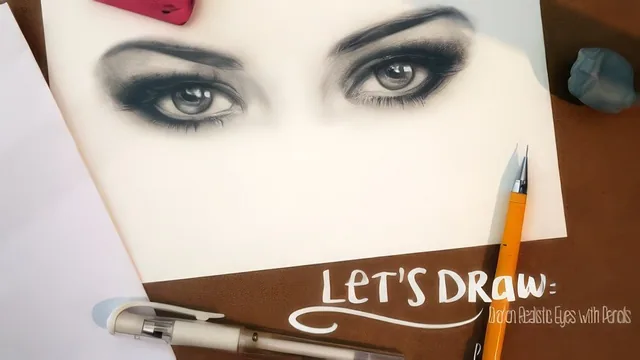
A tight 36-minute walkthrough that teaches proportional eye-drawing tricks but skips the pencil-holding and blending basics beginners actually need first.
"Let's Draw: Sketch Realistic Eyes with Pencils" is a compact, single-project class built around one clear deliverable: a realistic pencil drawing of a human eye, or pair of eyes, worked from a reference photo. Across eight short lessons and 36 minutes, Gabrielle Brickey moves from materials, to anatomy, to expression, to a full sketch-and-shade demonstration, closing with troubleshooting tips. The pacing is brisk. There is no wasted time on filler, but that brevity also means depth is traded for coverage.
Structure and technique
The anatomy lesson is short but useful, naming the iris, pupil, sclera, upper and lower lids, and tear duct, with a specific and slightly counterintuitive note that the sclera is rarely pure white and often reads as gray. The expressions lesson is one of the stronger segments: it isolates three variables (brow angle, amount of visible sclera, lid shape) and shows how shifting them alone turns a neutral eye into a surprised, angry, sad, or tired one. That is a genuinely transferable rule a student can apply beyond this one project.
The sketching lesson is where the real technique lives. Brickey demonstrates a paper-edge measuring method, marking eyelash tips, sclera boundaries, and tear duct corners on a scrap sheet to transfer proportions accurately, rather than freehanding blind. More distinctive is her use of negative space: instead of drawing the iris as a circle, she has students draw the triangular gaps of visible sclera around it first, arguing this forces the brain to work harder and produces more accurate shapes than copying a "simple shape we think we know, but really don't." It is a small idea, but a useful one, and it is the one technique in this class that could genuinely improve a student's drawing accuracy on subjects well beyond eyes.
Shading and finishing
The shading lesson covers a two-pencil system, a hard 3H for light tones and a softer 4B for dark contrast and drama, plus a pencil-holding adjustment (grip from on top, rather than the writing grip) meant to produce smoother tone coverage. Blending gets attention too: tissue for large areas, cotton swabs and blending stumps for small ones, and a kneaded eraser used not just to correct mistakes but as an active tool, molded into points for highlights or poked with a pencil tip to stamp texture into skin. The detailing lesson closes with eyelash technique (drawn in small wispy clusters rather than single hairs) and a white gel pen pass for glossy highlights on the pupil.
Where it falls short
The course assumes a baseline comfort with pencil pressure and blending that a true beginner won't have, despite the marketing line about not being able to draw a stick figure. Concepts like "value hierarchy" and building tone in layers are named and demonstrated but not slowed down enough for someone encountering shading for the first time. There is also no real discussion of common mistakes or how to fix a drawing that has gone wrong beyond generic advice (look in a mirror, take a photo, walk away). For its length, though, it delivers a legitimate, repeatable process, measure, sketch loosely, build value in layers, refine detail last, that a student can apply to any eye reference afterward.
The standout
The negative-space sketching method, where you draw the triangular gaps around the iris before the iris itself, forces more accurate proportions than guessing at a circle.
What you will learn
- How to identify and place the iris, pupil, sclera, lids and tear duct using correct anatomical terms
- A paper-measuring method for transferring proportions from a reference photo to your sketch
- How brow angle, lid shape and visible sclera change an eye's expression (neutral, surprised, angry, sad, tired)
- Layering technique with 3H and 4B pencils, moving from light sketch lines to built-up shaded values
- Kneaded eraser techniques including stamping texture and lifting highlights
- Finishing touches with an eraser pencil and white gel pen for crisp and glossy highlights
Best for: Someone who already sketches a little and wants a focused refresher on eye anatomy, proportion tricks and shading layering before tackling full portraits.
Skip it if: A true beginner with no pencil-holding, blending or value-drawing experience, since the class assumes comfort with tone-building and moves through it quickly.