
Introduction to Lighting for Videography
Jordy Vandeput · Filmmaker and Youtuber
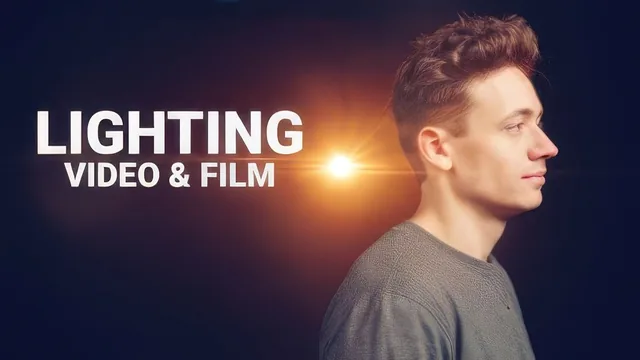
A working Belgian filmmaker distills three years of film-school theory into 29 minutes that finally explain why light goes where it goes.
Jordy Vandeput opens by admitting he hated lighting in film school because nobody explained the point of it, and that confession sets the tone for the whole class. Rather than starting with the standard three-point diagram, he starts with a question: what is a light actually for? His answer, that a single light only ever does one of two things, illuminate a subject or create depth, becomes the spine the rest of the course hangs on.
The core mechanic
The class builds around one repeated idea: every light produces a highlight and a shadow, and the highlight always pushes the shadow away from the camera. Vandeput demonstrates this with his colleague Lorenzo, moving a single softbox from front to side and asking the viewer to notice which half of the face goes dark. He extends the same logic to a sphere drawn on paper, showing that a shadow is what makes a flat shape read as three-dimensional. From there he introduces key, fill, and back light not as fixed positions in a diagram but as tools defined by what they do to the shadow already present in a shot, including the case where an existing window is already an unplanned fill light.
The lesson on layering is the most useful stretch of the course. Vandeput walks through a full shot, calling out shadow, highlight, shadow, highlight in sequence from the background wall to the subject to the foreground, and argues that alternating layers is what separates a flat frame from one with depth. He then applies this to an office scene, turning on a kitchen light behind a subject purely to break up two shadow layers sitting next to each other. It is a small, concrete move, and it is the kind of thing a beginner would never think to try without seeing it named and demonstrated.
Color and the location shoot
The color lesson covers warm-cool contrast, orange gels pulling a subject forward and blue gels pushing a background back, tied to the familiar teal-and-orange look from action films. It is a brief treatment, more of a taste than a full lesson, and Vandeput says as much when he mentions a dedicated color class is planned separately. The closing lesson, shot in his own living room, is where the course earns its keep: he treats an uncontrolled window as an immovable key light, corrects a warm-versus-cool color mismatch between ceiling lights and daylight using gels, and builds a second, more dramatic setup around a garden chair and a table lamp. This is where the earlier theory gets tested against a space that was not built for filming, which is closer to what most viewers will actually be working in.
The course is short and deliberately narrow. It does not touch camera settings, does not review specific fixtures beyond passing mentions of the gear used, and treats color theory as a preview rather than a full topic. Two quizzes hosted on an external site back the lessons but are not part of the video itself. What the class delivers well is a genuine mental model, the highlight-pushes-shadow rule, that a beginner can carry into any room with any light source, which is a stronger outcome than most short lighting overviews manage in half an hour.
The standout
The rule that light always pushes its shadow forward, so a light's placement is judged by which side of the subject's shadow it falls behind, not just by how bright it looks.
What you will learn
- How to identify key, fill, back, and practical lights and what each one actually does
- How to read highlights and shadows on a subject's face to judge whether a shot is flat or has depth
- How to place a light relative to the camera so it pushes a shadow forward instead of flattening the shot
- How to build layered shadow-highlight-shadow structure across a whole scene, not just the subject
- How warm and cool color gels pull a subject forward and push a background back
- How to adapt studio lighting principles to a real room using windows, ceiling lights, and gels
Best for: A videographer or hobbyist filmmaker who has never studied lighting and wants a plain-language reason for where to put a light, not just a diagram of a three-point setup.
Skip it if: Anyone who already understands key/fill/back terminology or wants hands-on gear reviews, exposure settings, or advanced multi-light color grading.