
Intro to 2D Animation: Frame-by-Frame for Beginners
Jack Grayson · Animator & Illustrator
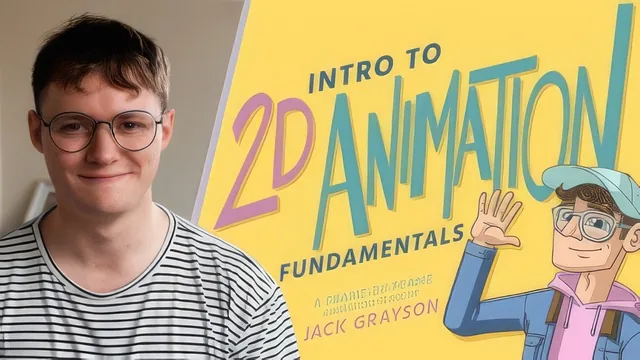
A tight 31-minute walkthrough of frame-by-frame basics in Adobe Animate, built around one small wave animation.
A compact, project-first primer
This course does exactly one thing and does it cleanly: it takes a viewer with drawing skills but no animation experience through the full pipeline of producing a short frame-by-frame loop in Adobe Animate CC. The arc is linear and logical, moving from software orientation through extremes, breakdowns, inbetweens, easing, and finally coloring and export. Nothing wanders. Each lesson closes with a short recap of terms, which makes the vocabulary stick even though the runtime is barely half an hour.
The opening lesson on navigating Animate covers aspect ratio and frame rate before touching a single drawing tool, and it settles on a 1080x1080 square canvas at 24 frames per second, explained as convenient for social platforms and easy math rather than as any universal standard. The teacher also introduces the "1s, 2s, and 3s" convention for how often a new drawing appears, framing it as a spectrum between the buttery smoothness of animating on ones and the choppier efficiency of animating on threes. Settling on twos as the working default is a sensible, honest choice for a beginner project rather than an idealized one.
The core animation theory is where the course earns its keep. Extremes are introduced as the furthest points of a motion, breakdowns as the secondary lag between connected body parts (the hand trailing the arm, in this case), and inbetweens as the drawings that fill the remaining gaps, worked outward from the middle rather than in a straight sequence. The easing lesson builds directly on this by explaining that spacing, not added frames, is what makes a wave start slow, speed up, and settle again. Watching this sequence play out on a single small animation, frame numbers and all, makes the abstract vocabulary of animation immediately legible in a way that reading about it rarely does.
The back half turns practical: sealing gaps in line art with the paint-inside brush so the bucket tool can fill flat colors, pulling hex codes from other Adobe programs for consistency, and building a looping symbol by isolating the wave frames, trimming a duplicated first-and-last frame, and re-pasting them inside a graphic symbol. This looping technique is a genuinely useful, transferable skill that many beginner tutorials skip entirely, and walking through the exact keyboard shortcuts (F5, F6, F7, F8, Shift+F5, Shift+F6) gives it real production value rather than vague description.
Where it comes up short
The course is narrow by design, and that is both its strength and its limit. It teaches one small movement on one character, with a single fixed timing (frames 1, 17, 25, 33 for extremes) that the viewer is told to replicate rather than derive. Nothing here addresses walk cycles, facial animation, or any movement more complex than a wave, and the closing lesson explicitly flags that starting from clean line art rather than rough thumbnails is a shortcut, not standard practice. The course also depends entirely on Adobe Animate and, for exporting anything usable, a third-party converter, so anyone without that specific software stack gets little direct value.
As an entry point, though, it is efficient and well-sequenced. Anyone with character-drawing chops who wants their first taste of seeing a drawing move will come away with a complete, if small, finished animation and a working vocabulary of extremes, breakdowns, inbetweens, and easing that applies well beyond this one exercise.
The standout
The easing lesson, which shows how shifting inbetween drawings closer to or farther from extremes changes perceived speed without touching the timing itself.
What you will learn
- How to set up a document in Adobe Animate with the right aspect ratio and frame rate
- How to identify and draw extreme poses to anchor a movement
- How to add breakdown drawings so secondary body parts lag realistically
- How to fill in inbetweens using the onion skin tool as a guide
- How to apply easing by spacing drawings unevenly around key poses
- How to color line art with the bucket and paint-inside tools and build a looping symbol
Best for: Illustrators or digital artists who already draw characters and want a fast, concrete first pass at animating one in Adobe Animate.
Skip it if: Anyone without access to Adobe Animate, or anyone hoping for a broader animation theory class beyond a single short wave exercise.