
Inkscape for beginners Class01
Gaia Marfurt · Illustrator and Surface Designer
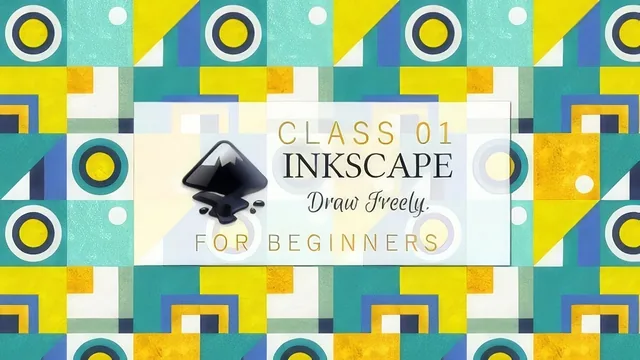
Thirty-six minutes teaches you Inkscape's four core tools well enough to build one flat geometric pattern from scratch.
Inkscape for Beginners Class01 is a 36 minute orientation to Inkscape built around a single deliverable: a flat, colored, geometric repeat pattern made from squares, circles, and a triangle. It is not a course about illustration or drawing technique in any general sense. It is a tour of the handful of tools needed to place shapes, color them, stack them, and align them, aimed squarely at someone who has never opened a vector editor before.
What it actually covers
The opening lesson sticks to the rectangle and ellipse tools, showing how holding Ctrl constrains a rectangle into a square or an ellipse into a circle, and how the black arrow selection tool moves objects around the canvas. From there it moves into stacking order, using the raise-to-top, lower-to-bottom, raise-one-step, and lower-one-step buttons to explain how overlapping shapes relate to each other, illustrated with a red, orange, and yellow set of rectangles stacked in a specific order.
The second lesson is about color: the Fill and Stroke dialog, the difference between clicking a swatch for fill versus shift-clicking for stroke, and the fix for a recurring beginner frustration where every new shape inherits an unwanted stroke. The remedy, double-clicking the tool to set "last used style" as the new default, is a small but genuinely useful fix that a beginner would otherwise lose time to.
The pattern-building lesson is the heart of the course. It walks through duplicating shapes with Ctrl+D, scaling and rotating via the selection handles, and then the Align and Distribute panel to center a circle inside a square exactly rather than by eye. This is the most concretely useful stretch of the whole class, because centering objects precisely is a real recurring need and the panel is not something a first-time user would stumble into on their own. The lesson closes with exporting the finished pattern as a PNG at an adequate DPI, and a reminder that saving as SVG preserves the shapes as editable objects rather than flattening them to pixels.
The final lesson adds the Bezier pen tool just long enough to draw a simple triangle, then covers grouping objects and flipping or rotating a group as a unit. A short bonus lesson addresses interface confusion directly, pointing out that the toolbox and Fill/Stroke and Align/Distribute panels can be hidden or docked differently depending on the install, and showing where to find them under the Object menu.
Where it falls short
The course is honest about its narrowness: it explicitly defers texture work to a separate class using different software, and the finished pattern stays entirely flat-colored. There is no coverage of the pen tool beyond a single triangle, no text tool, no gradients, and no discussion of the XML editor or more advanced path operations. Given the beginner label and 36 minute length, that narrowness is appropriate rather than a flaw, but it does mean the "geometric patterns" promise in the course description is delivered at the most literal, basic level. The pacing is also uneven in places, with some tool explanations moving quickly enough that a true first-time user may need to pause and rewind. Audio clarity varies across lessons as well, which occasionally makes precise instructions harder to follow. As a first half hour with Inkscape, though, it does what it sets out to do.
The standout
The Align and Distribute walkthrough, showing how to center a circle exactly inside a square without eyeballing it, is the one technique that actually saves real drawing time.
What you will learn
- Drawing and constraining rectangles, squares, and circles with the rectangle/ellipse tools and the Ctrl key
- Applying and removing fill and stroke color via the Fill and Stroke dialog, including the shift-click stroke shortcut
- Setting a 'last used style' default so new shapes stop inheriting an unwanted stroke
- Reordering overlapping objects with raise/lower/top/bottom stacking commands
- Duplicating, scaling, rotating, and precisely aligning objects using the Align and Distribute panel
- Grouping objects and exporting a finished pattern as PNG (with DPI checks) or as SVG
Best for: A visual designer or illustrator who already thinks in shapes and just needs the first half hour of Inkscape's interface demystified.
Skip it if: Anyone wanting freehand illustration, typography, or a polished finished piece, since the course stops at flat colored geometric shapes and defers texture work to a separate class in another program.