
Illustrating Expressive Portraits in Procreate
Maia Faddoul · Ilustrator & Designer
A working illustrator's real color-and-texture workflow for bold portrait illustration, thin on anatomy or feature-drawing instruction.
A workflow class dressed as a portrait class
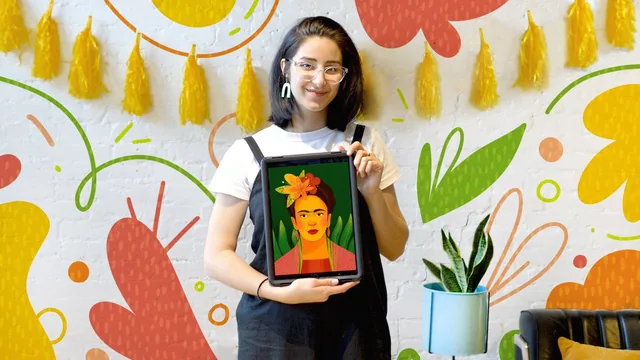
Illustrating Expressive Portraits in Procreate promises a portrait tutorial but delivers something narrower and, in its way, more useful: a color and texture workflow that happens to land on a face. Maia Faddoul, an editorial illustrator whose client list includes Teen Vogue and Showtime, spends the class's ten short lessons walking through her actual studio process on a single demo piece, a stylized tribute portrait of Frida Kahlo. The choice of subject matters less than the method behind it, since the whole point of the exercise is picking someone who "inspires you" and interpreting their essence rather than tracing their features.
The strongest stretch of the course is the color palette build in lesson four. Rather than picking colors on the fly, Faddoul collects reference images (Google searches, photographed pages from Mexican folk-art books, even a random hardcover with a nice gradient), assembles them into a mosaic mood board directly on the canvas, and then hand-swatches individual colors off that mosaic with Procreate's color picker before saving the results into a named custom palette. It is a genuinely transferable technique, one that works for any subject or style, and it front-loads the hardest creative decision so the actual painting stage becomes a matter of picking from an already-cohesive set rather than second-guessing hue after hue.
The sketching and shading lessons that follow are less about drawing skill and more about layer management. Faddoul builds up her sketch through three or four passes, each in a different colored pencil at lowered opacity stacked on the last, refining loose gestures into a clean linework guide without ever demonstrating proportion or anatomy in any explicit way. Shading uses a repeatable trick worth learning on its own: select the base color layer, create a new layer restricted to that selection, set it to Multiply, and paint shadows freely without spilling outside the shape. It is efficient and non-destructive, and it recurs through the skin, the shirt, and the background, so it sticks by repetition alone.
Where the class runs thin is anywhere resembling instruction on drawing a face. Eyes, eyebrows, and lips are rendered quickly with commentary that amounts to "not too precise, just have fun with it," which suits an intermediate audience already comfortable with facial proportion but leaves true beginners without a scaffold. The reliance on paid True Grit texture and pattern brushes for the chalky, patterned look is disclosed but still a soft barrier, since free alternatives are only gestured at rather than demonstrated in equivalent detail.
At 69 minutes across ten lessons, this sits closer to a process demo than a structured lesson plan. Anyone hoping to improve figure drawing or facial rendering specifically will find little here. Anyone wanting to loosen up their color and texture approach in Procreate, and who already sketches with some confidence, will get a genuinely reusable palette-and-shading system out of it in under an hour.
The standout
The mood-board-to-custom-palette method, where reference photos are merged, swatched by hand, and distilled into one saved Procreate palette before any painting starts, removing color decisions from the drawing stage entirely.
What you will learn
- How to build a mood board from saved reference images and pull a custom color palette from it inside Procreate's palette tool
- A layered sketching workflow that progressively refines a rough sketch through multiple colored outline passes at lowered opacity
- How to use Select + fill layer combined with Multiply blend layers to add non-destructive shading without leaving a base color
- How to load and apply third-party texture brushes (chalk, pattern, polka-dot) to add hand-drawn grain and pattern to skin, clothing, and hair
- How to build a flat, graphic decorative background using multiply-layered texture and pattern brushes to match the portrait's palette
- How to make deliberate, stylized departures from a reference photo to capture a subject's presence rather than photographic likeness
Best for: Procreate users who already have basic sketching and app fluency and want a looser, texture-driven color workflow rather than a lesson in facial anatomy.
Skip it if: Complete beginners to Procreate or to figure drawing, since the course assumes comfort with layers, blend modes, and confident freehand sketching from the outset.