
How to Make Modern Youtube Videos on a Budget
Brandon Waters · Videographer | Cinematographer | Editor
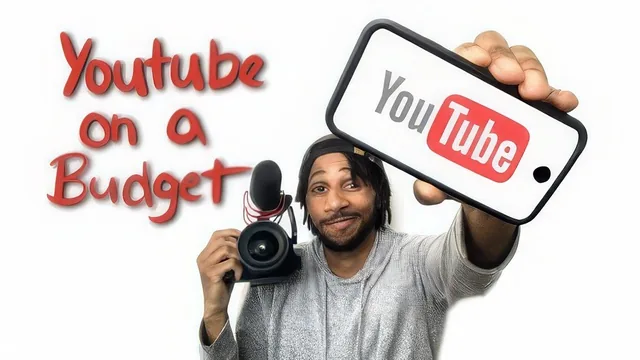
Eleven minutes promise a full YouTube starter kit, but most of it is common sense stretched thin with one real technique inside.
"How to Make Modern YouTube Videos on a Budget" promises a full pipeline from idea to upload in eleven minutes, and it mostly delivers a checklist rather than a skill set. Brandon Waters structures the course as a funnel: find a niche, narrow it to a topic, script it, shoot it, edit it, and top it with a thumbnail. That arc makes sense on paper, and for a viewer who has never made a video before, having the steps named in order has some value.
The niche and topic exercises are the most actionable parts of the early lessons. Viewers are told to write down three interests, cut it to one, then watch ten successful videos in that space and take notes on presentation choices. This is a reasonable way to break through the blank-page problem, and the course backs it with its own worked example: a PB&J sandwich video built by combining ideas from two existing cooking channels. The instruction to "innovate" by recombining what already works is honest advice, even if it edges close to just copying.
The scripting lesson borrows a paragraph structure, hook, body, conclusion, and maps it onto video. The hook is framed as a single sentence that states a problem and promises a solution ("there are many ways to make a PB&J, but this way is the best"). It is a serviceable template for absolute beginners, but it is also a widely known piece of advice repackaged with new vocabulary rather than a technique unique to this course.
Equipment and the shooting formula
The equipment lesson is the most concrete section, naming an actual gear list, a phone, a light, a microphone, a phone clamp, a magic arm, and a tripod, priced at roughly $130, along with a specific rigging order (magic arm to the mount, phone into the mount, mic on top, light on the arm, all attached to the tripod). That specificity is useful to someone who has never bought gear before, though it dates quickly and skips over camera settings, framing, or lighting technique entirely.
The shooting and editing formula, Interview, B-roll, Music, Text, is the one idea in the course that could function as a standalone reference after the video ends. It gives a beginner a repeatable structure for layering footage: record the talking segment first, gather supporting shots that illustrate what is being said, add music under it, and use on-screen text for names or labels. It is simple, but simple is what a true beginner needs, and it is the closest thing here to a transferable skill.
Where it falls short
The course explicitly defers actual editing instruction, pointing viewers to unspecified outside videos instead of teaching a single button or workflow, in either of the two named apps. That is a significant gap in a course about making videos on a budget, since editing is where most of the visible craft happens. The thumbnail lesson is similarly thin, amounting to "spend as much effort on the thumbnail as the video" without a design walkthrough. At eleven minutes, the course reads more like an outline for a longer course than a finished one, useful as an orientation but not as instruction in shooting, lighting, or editing craft.
The standout
The Interview, B-roll, Music, Text shooting formula gives a reusable structural checklist for assembling any video from raw footage.
What you will learn
- A four-step niche-to-topic funnel: list three interests, narrow to one, then research ten channels in that space
- A three-part scripting structure (hook, body, conclusion) borrowed from paragraph writing, applied to video
- A specific low-cost gear list (phone, light, mic, phone clamp, magic arm, tripod) totaling about $130
- The Interview / B-roll / Music / Text shooting and editing formula used to structure any video
- Why and how to spend deliberate time on a custom thumbnail as a click-through driver
- A worked example (a PB&J video) showing the niche-to-script-to-shoot process end to end
Best for: Someone who has never made a video before and wants a simple, cheap starting checklist rather than a deep skills course.
Skip it if: Anyone who already understands basic video structure, owns a camera setup, or wants actual editing, lighting, or audio instruction.