
Getting Started with Procreate (For iPad Pro)
Banashree Das · Digital illustrator
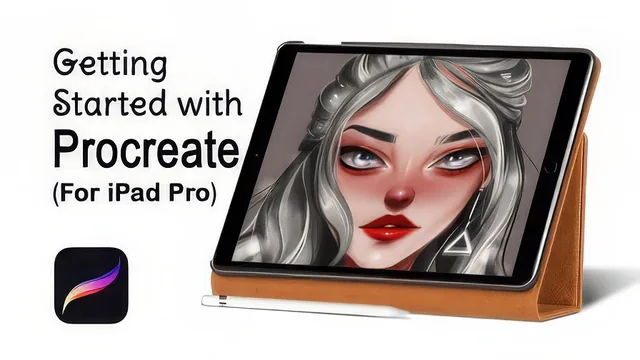
A tight 32-minute walkthrough of one portrait, useful mainly for the specific brush and layer choices it names.
Banashree Das's "Getting Started with Procreate" is exactly as advertised: a beginner-level, 32-minute orientation to Procreate on an iPad Pro, built around one demonstration portrait. It is not a drawing course. It assumes the viewer can already sketch a face or a pet convincingly and simply needs to know which buttons to press once that sketch exists.
The structure is sensible and moves fast. After a short introduction and a class project prompt (draw someone or something you love, post the sketch and final piece to the project gallery), the course runs through canvas setup, brush selection, sketch cleanup, coloring, finishing touches, and export, then closes with a second full example added later in response to student requests. Each lesson is short enough that nothing overstays its welcome, but that brevity is also the course's biggest limitation: several topics get one pass with no room for troubleshooting or variation.
What the course actually teaches
The canvas lesson is more substantive than it sounds. It covers the default DPI of Procreate's presets, why a custom canvas at 300 or 350 DPI matters for print-quality work, how color profile choice (RGB versus CMYK) affects sharing versus printing, and how to resize or crop a canvas after the fact using the resample toggle. This is genuinely useful groundwork that a lot of beginner tutorials skip.
The brush lesson is the most detailed part of the class. Rather than a vague "use whatever brush you like," it names specific brushes for specific jobs: the 6B Pencil for sketching, Studio Pen or Technical Pen for inking, Hard Airbrush for both blending and detail work because of its pressure sensitivity, and Gesinski Ink or Wet Acrylic for softer blending textures. Naming actual tools instead of speaking generically gives the viewer something concrete to try immediately, and it is the one segment worth rewatching.
The coloring lesson introduces clipping masks as the backbone of the whole process: color a base layer, then clip additional shading and detail layers to it so changes stay contained. It also covers hue/saturation/brightness adjustments, layer ordering logic (explained through the example of eyebrows sitting below hair but above shadow), and merging layers down once Procreate's layer ceiling becomes a constraint. These are practical, non-obvious tips that a self-taught user might not stumble onto for a while.
Where it falls short
The course never addresses drawing fundamentals such as proportion, anatomy, or composition, so a viewer who can't already produce a decent sketch will finish the class no better at drawing, only better at navigating the software. The finishing-touches and export lessons are thin, amounting to a few sentences on when to stop adding details and where the export menu lives. The added second example helps show the same workflow applied to a different piece, but it repeats the process rather than teaching anything new.
As an app orientation for someone who already draws, it does its job efficiently. As a drawing class, it is not one, and the title doesn't quite make that distinction clear.
The standout
The clipping mask workflow for coloring, where new layers are automatically confined to a base color layer, is the one technique worth adopting on its own.
What you will learn
- Setting up a custom canvas with proper DPI, size, and color profile for print or online work
- Choosing specific brushes for sketching, inking, coloring, and blending, and why each one behaves differently
- Cleaning up a rough sketch into line art using layer opacity and tracing
- Coloring with selections, clipping masks, and the smudge tool for blending
- Organizing and merging layers to stay under Procreate's layer limit
- Exporting a finished piece and its time-lapse video
Best for: A first-time Procreate user on an iPad Pro who already sketches or draws and wants a fast orientation to the app's tools rather than a drawing lesson.
Skip it if: Anyone who can't draw a recognizable portrait or animal already, since the class assumes that skill and spends no time teaching it.