
Fast Screen Printing with Stencils: Make a Cool T-Shirt or Tote
Leitha Matz · Maker
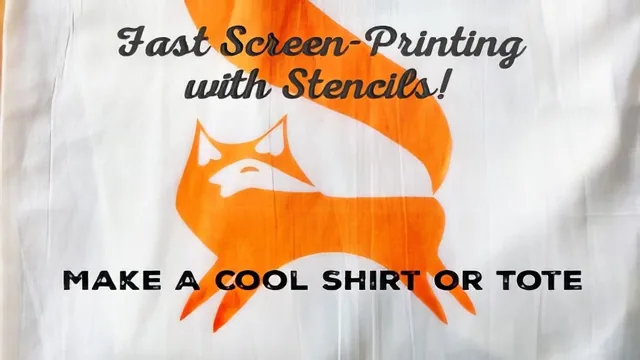
Nineteen minutes to a finished stencil print, but the actual cutting technique is sped past on screen.
This course covers exactly what its title promises and nothing more: a fast path from a design idea to a printed t-shirt or tote, using a screen and a paper or plastic stencil rather than a full silkscreen emulsion setup. At nineteen minutes across eleven short lessons, it moves briskly through selecting a design, cutting a stencil, and pulling a print, aimed squarely at someone who has never held a squeegee before.
The opening lessons do useful groundwork before any ink appears. The instructor compares stenciling against potato stamps, carved rubber stamps, and spray-through transparency film, then explains why a screen-backed stencil produces a cleaner result and allows discontinuous shapes, like the negative space inside a letter "O", that a loose stencil on a wall cannot hold together. From there the course sets three criteria for a workable design: solid opacity, thick enough line weight to hold ink, and low enough complexity to cut cleanly. These are illustrated with a simple star versus a more detailed llama graphic, giving a beginner a concrete way to evaluate their own design choices rather than a vague sense of "keep it simple."
The Photoshop Detour
The most useful single lesson is the demonstration of building a stencil from a photograph. The instructor runs a self-portrait through Image > Adjustments > Threshold to reduce it to pure black and white, then applies the Cutout filter under the Filter Gallery to simplify the edges into stencil-ready shapes. A second example repeats the process with a basic building photo to produce a simplified flower design. This is the one technique in the course specific and repeatable enough to use again on a different image, and it justifies the runtime on its own for anyone without a design already in hand. The catch is that it depends entirely on Photoshop; anyone without access to it, or working in Procreate, Illustrator, or GIMP, gets no equivalent walkthrough and has to improvise.
Where It Thins Out
The physical cutting of the stencil, arguably the most failure-prone step for a first-timer, gets the least attention. The lesson opens by noting that viewers requested to see the cutting process, then immediately speeds through the footage because the instructor considers it "the dull part." A beginner who struggles with an X-Acto knife on fine detail gets no guidance on blade angle, handling small negative-space pieces, or working around torn edges.
The printing lessons that follow are more solid. The test print and final print walkthroughs cover practical mechanics that many beginner guides skip: applying ink to the squeegee with a spatula for even distribution, running a pass in both directions, checking for uneven ink coverage before lifting the screen, and touching up bleed with a small paintbrush. The closing lesson on heat-setting with an iron is brief but correct.
Overall, this is a compact primer that succeeds as a quick orientation and stumbles as a hands-on tutorial. It tells a beginner what good stencil design looks like and how to physically pull a print, but leaves the trickiest manual skill, cutting the stencil itself, as the thinnest part of the class.
The standout
The Photoshop demonstration of turning a photo into a stencil using the Threshold adjustment followed by the Cutout filter gives a repeatable, concrete technique beginners can apply to any image.
What you will learn
- How to judge a design for stencil suitability using opacity, line weight, and complexity
- How to convert a photo into a stencil using Photoshop's Threshold and Cutout filter tools
- How to choose and combine fabric ink colors and match them to a printing surface
- The core supply list: screen, squeegee, fabric ink, X-Acto knife, cutting surface, iron
- How to load, pull, and lift a screen print without smearing or uneven ink
- How to heat-set a finished print with an iron
Best for: A total beginner who wants a single afternoon project and owns or can access Photoshop and basic screen printing supplies.
Skip it if: Anyone wanting multi-color registration, alternative stencil-cutting software, or a slow, closely guided walkthrough of the actual knife work.