
Experimental Image-Making: Creating Striking Images with Scanner Glitch Distortions
Evgeniya & Dominic Righini-Brand · Graphic Design & Photography
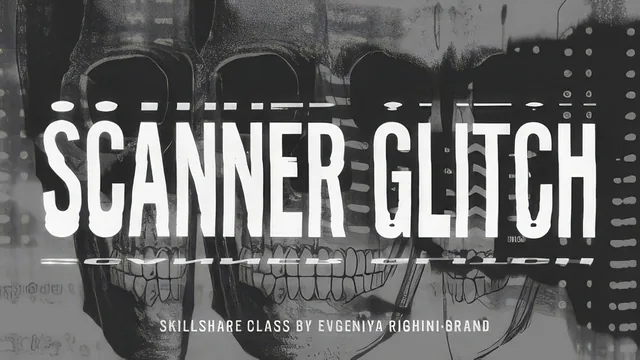
A 15-minute crash course in one scanner trick that could hand you an entire signature visual style overnight.
A tight, hands-on primer with a real technique at its core
This class runs fifteen minutes and covers exactly one method: dragging, sliding, and flipping objects across a flatbed scanner bed mid-scan to produce distorted, streaked, or repeated imagery. It does not dabble in software-only glitch effects, datamoshing, or code-based pixel corruption. That narrowness is the point. Evgeniya Righini-Brand walks through the physical process from scanner settings to Photoshop cleanup in six short lessons, and the whole thing is built around a single insight: scan resolution controls the speed of the scanner head, and that speed is what determines how a moved object smears, stretches, or repeats.
The middle lesson on scanner setup is the most useful part of the course. It explains why color mode should stay on even when scanning black-and-white sources, why TIFF suits large-format output while JPEG suits quick experiments, and crucially, why 300 dpi produces a fast, chaotic head movement while 600 dpi slows things down for more controlled distortion. That single piece of technical grounding turns what looks like a random accident into something a student can actually direct.
The movements lesson catalogs a handful of concrete gestures: sliding a source along the bed to prolong sections of it, sliding backward to compress or squash regions, rotating the source mid-scan for swirl-like effects, and quickly repositioning a source to repeat fragments within one image. Each is described with enough specificity that a student could replicate it on a first attempt, though none of it is shown at a pace that lingers on troubleshooting when a movement goes wrong.
Where the course thins out
The retouching lesson, covering cropping, spot healing, level adjustments for a clean white point, and non-destructive color layers, is competent but generic. Nothing here is specific to glitch work. It reads as a compressed standard Photoshop cleanup workflow attached to the end of the class because scanned images need dust and edge repair, not because it teaches anything about glitch aesthetics specifically.
The closing lesson on further use, layering multiple glitch variants with blending modes, building GIF animations, using glitched imagery as poster backgrounds, is a list of suggestions rather than a demonstrated workflow. It gestures toward color-channel compositing and points to a separate class on that topic rather than teaching it here. Students hoping for a finished, styled composite as a capstone project will find the class ends before that stage.
At fifteen minutes, this is closer to a technique demo than a full course. It succeeds at explaining the one variable, scan speed via resolution, that separates deliberate glitch art from a ruined scan, and it is honest about the fact that results come from repeated experimentation rather than a formula. Students without a scanner, or those seeking digital-only glitch methods, gain nothing from it. Students with a flatbed scanner sitting unused in a closet will likely get a full afternoon of material out of a fifteen-minute watch.
The standout
The breakdown of scanner resolution as the control dial for glitch speed, where 300 dpi produces fast wild distortion and 600 dpi allows slow, deliberate movement, is the one concrete fact worth the whole runtime.
What you will learn
- How to choose scanner settings (resolution, file format, color mode) to control glitch effects
- Which physical materials, objects, faces, and typography work well as scan subjects
- How to physically move a source during scanning to produce specific distortion types
- How to clean up dust, edges, and exposure issues on scanned images in Photoshop
- How to set white and black points and apply non-destructive color adjustments
- How to combine multiple glitch scans into composites, GIFs, or layouts
Best for: A graphic designer, illustrator, or photographer who owns or has access to a flatbed scanner and wants a fast, cheap way to generate raw textures or backgrounds.
Skip it if: Anyone without a working scanner, or anyone hoping for guidance on digital-only glitch effects made in software rather than by hand.