
DSLR Camera Essentials: Film & Edit Stunning Timelapse Videos
Drew Geraci · Photographer/Videographer
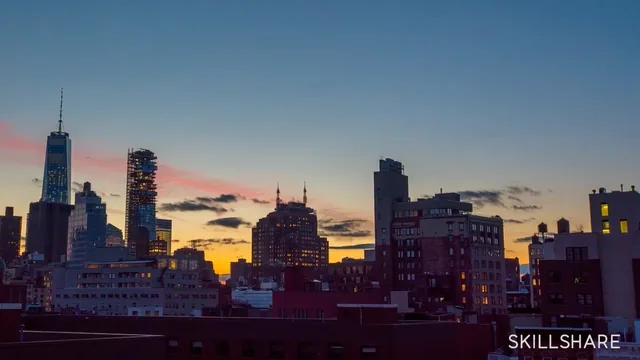
A tight one-hour blueprint for both stationary and motion-controlled timelapse, straight from a Netflix-credited pro.
What it actually covers
Drew Geraci structures this course as a single project arc: scout a city, shoot two kinds of timelapse, and edit both into finished clips. The first third is conceptual, covering why timelapse works as a storytelling device and introducing his "three-point dynamic rule," the idea that a compelling timelapse needs at least three moving elements in frame, whether that's clouds, cars, pedestrians, or an imposed camera move added later in post. It's a genuinely useful framing device that gives beginners a checklist to run through before pressing record instead of just pointing a camera at a landscape and hoping something interesting happens.
The middle section is where the course earns its keep. Camera setup gets a proper walkthrough: switching off every auto function (ISO, white balance, focus, image stabilization), shooting raw, and picking an interval that matches the subject, fast intervals of one to three seconds for people and clouds, much longer ones for astrophotography. The explanation of what causes flicker (inconsistent aperture return on autofocus lenses) and wobble (image stabilization fighting itself on a tripod) is specific and practical rather than hand-wavy. The motion-controlled section that follows covers rigging a Kessler two-axis pan-tilt head, programming keyframed start and stop points, and matching the rig's movement to the direction clouds are already traveling for a more natural parallax effect.
Editing gets real screen time
Unlike a lot of shooting-focused classes that treat post-production as an afterthought, this one spends two full lessons on it. The Lightroom segment walks through recovering shadow and highlight detail from deliberately underexposed raw frames, then syncing those adjustments across an entire image sequence in a couple of clicks. The After Effects segment covers importing a JPEG sequence, matching frame rates between the composition and footage (a step that causes stutter if skipped), and the null-object trick for adding simulated camera movement to footage that was actually shot on a locked-off tripod. Warp Stabilizer gets a quick but functional demonstration for cleaning up wind-shake on the rooftop motion-control shot.
Where it falls short
At 70 minutes, the course moves fast, and it assumes real prior knowledge. Geraci says a "basic working knowledge" of a DSLR is enough, but the pacing through manual mode, aperture, and shutter speed suggests otherwise; someone who doesn't already know these controls will be lost within the first ten minutes of setup instruction. The equipment lesson also leans heavily on Geraci's personal kit (Sony A7S, Kessler rigs) without much guidance for students working with more modest gear, and gear cost specifics quoted for motion-control units will be outdated. There's no discussion of alternative editing software for students without access to the full Adobe Creative Suite, which is a real gap given how central Lightroom and After Effects are to the second half.
What the course delivers well is a complete, honest picture of the workflow from scouting to final export, with enough specific technical detail (exact intervals, specific settings, real troubleshooting causes) to actually go shoot something afterward. It's not padded with filler, and the two bonus timelapse clips at the end serve as a reasonable demonstration of the techniques in action rather than pointless bonus content.
The standout
The After Effects technique of rigging a null object to a virtual camera so a static timelapse gains a simulated push-in or pan, turning flat stationary footage into something that feels motion-controlled.
What you will learn
- Setting a DSLR to fully manual (ISO, white balance, focus, drive mode) to eliminate flicker and wobble
- Choosing intervalometer settings based on subject speed, from 1-3 second intervals for clouds and people to 25-30 second intervals for astrophotography
- Applying the three-point dynamic rule to layer clouds, cars, people, or an imposed zoom into a scene
- Programming a two-axis motion-controlled slider and head with the Kessler system for panning timelapses
- Batch-processing a raw image sequence in Lightroom and syncing edits across hundreds of frames
- Assembling a JPEG sequence into 24fps footage in After Effects, adding a simulated push-in via a null object, and applying Warp Stabilizer to fix wind-induced shake
Best for: Photographers who already know their camera's manual controls and want a focused, practical path into timelapse shooting and editing.
Skip it if: Total beginners who don't yet understand aperture, shutter speed, or ISO, since the course moves through manual camera setup quickly and assumes that foundation.