
Dry-Ink: Smart Texturing In Photoshop
Jamie Bartlett · Graphic designer and left-handed letterer
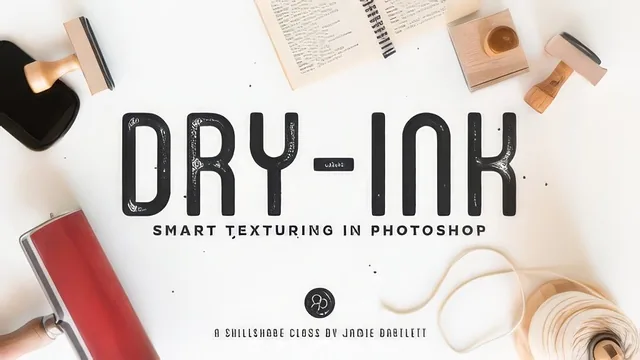
A tight 26-minute masterclass in one specific Photoshop trick, not a broad texturing course, so it rewards focus over breadth.
A narrow technique, taught properly
Dry-Ink: Smart Texturing In Photoshop does not try to be a general texturing course. It teaches exactly one effect, a distressed, hand-inked look built entirely from Photoshop's own filters, and it teaches that one thing with enough care that a viewer could rebuild it from memory afterward. The seven lessons move in a straightforward arc: find reference images on Pinterest or Dribbble, sketch out a bookplate design as the class project, then spend the bulk of the runtime constructing the texture on a simple block of text before transferring it to real artwork and finally to a background layer. That progression, simple text first, then complex artwork, then environment, is the course's smartest structural choice, since it isolates variables so each new complication (thin lines, separated letterforms, color fills) gets introduced one at a time.
The core technique is a stack: convert artwork to a Smart Object, add an Inner Glow layer style with its Choke and Size pushed to create ragged edges, then use the Blend If sliders to turn the layer's brightness values into a de facto mask. On top of that sits a Filter Gallery stack of Ripple, Difference Clouds set to Multiply, Grain, and either Torn Edges or Stamp, all applied as Smart Filters so every setting stays editable after the fact. It's a genuinely clever use of Photoshop's native tools, and the fact that no brushes, textures, or downloaded assets are required is a real selling point for anyone who wants a self-contained, license-free effect.
Where the course earns its intermediate label is in the "Reusing the Effect" lesson, where a single Inner Glow setting turns out to be too heavy for thin text and too light for a thick outline. The fix, duplicating the artwork into multiple Smart Objects so the outline, a bold letterform, and small text can each carry their own glow settings, is the most instructive moment in the class. It's also where a beginner would likely get lost, since the lesson moves quickly through several nested Smart Object copies without pausing to re-explain the logic behind each duplication.
The background texture lesson at the end feels like an afterthought bonus rather than a core module, reusing the same filter stack with minor tweaks (Grain type switched to Sprinkles, Torn Edges swapped for Stamp) rather than teaching anything new. Given the 26-minute total length, that's a reasonable trade-off, but it means the course's actual teaching content is concentrated almost entirely in lessons four and five.
What the course does not offer is much conceptual grounding. It shows exactly what sliders to move and what numbers work for one particular design, but it doesn't spend much time explaining why Blend If or Multiply blending produce the results they do, so a viewer who wants to adapt the effect to a very different kind of artwork will be doing some trial and error of their own. For anyone comfortable with Photoshop's layer panel already, that's a minor gap. For a true beginner, it could be a wall.
The standout
Separating one design into multiple linked Smart Objects so thick strokes and thin text each get their own custom Inner Glow settings solves the single biggest weakness of ordinary texture presets.
What you will learn
- Building a non-destructive dry-ink texture using Smart Objects, layer styles, and the Blend If sliders
- Layering Ripple, Difference Clouds, Grain, and Torn Edges/Stamp filters as reusable Smart Filters
- Using Inner Glow's Choke and Size controls to fit texture to different line weights
- Splitting artwork into separate Smart Objects so thick and thin elements get independently tuned texture
- Hand-painting texture in and out with a masked black fill layer for local control
- Recoloring and reapplying the finished effect to new artwork or a colored background
Best for: Intermediate Photoshop users who already know their way around layers and filters and want a specific, reusable non-destructive texturing workflow for line art or lettering.
Skip it if: Complete Photoshop beginners or anyone hoping for a broad survey of texturing methods, since this is one narrow technique taught in depth rather than a toolkit of options.