
Drawing Seamless Patterns in Procreate + Professional Surface Design Tips
Cat Coquillette · Artist + Entrepreneur + Educator
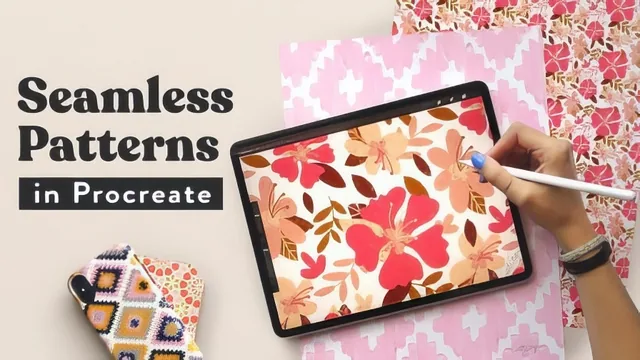
A working illustrator walks through her actual seamless-pattern workflow in Procreate, from loose floral assets to a tiled, sellable design.
From loose flowers to a tileable block
The course opens with almost no ceremony: an iPad, Procreate, and a set of optional free brushes and swatches, then straight into drawing. Cat Coquillette illustrates a small library of hibiscus-style blooms with a messy monoline brush, deliberately keeping the linework rough rather than polished, since the imperfection reads as more hand-done once repeated across a pattern. She adds veining and texture to leaves using alpha lock, a Procreate feature that confines new brushstrokes to whatever is already on that layer, and this technique reappears constantly through the course as the main tool for layering texture without redrawing shapes.
The technical core of the class is the quadrant method for building a seamless tile: cut the square canvas into four pieces, swap their positions diagonally, and use the resulting seams as a guide for where large motifs need to straddle an edge so they reconnect on the opposite side when the pattern repeats. This is explained with real specificity, down to keeping elements strictly on a vertical or horizontal axis while dragging them into place and toggling snapping off once the placement gets fiddly. It's the kind of instruction that actually transfers to other software, not just Procreate, since the underlying logic of offset-and-reconnect is how most repeat patterns get built regardless of tool.
Filling gaps and preparing for sale
Once the big elements are anchored, the middle stretch of the course is essentially puzzle-fitting: placing medium and small assets to eliminate empty space while working from largest to smallest, then adding matching splatter texture to those smaller fillers so the finished pattern feels uniform in texture density. A quick 30-second test, shrinking and tiling a duplicate before committing further work, is a smart checkpoint that catches obvious tiling failures early rather than after the pattern is fully colored and exported.
The color section demonstrates something genuinely useful for anyone thinking about this as income rather than a hobby: rather than manually repainting a pattern, hue/saturation/brightness adjustments on a duplicated layer generate an entire new palette in seconds, and the course shows this happening almost in real time as new color combinations get discovered by accident. The saving and exporting lesson is unusually practical for a Skillshare class, distinguishing between a working PSD/Procreate master file, a JPEG optimized for Spoonflower's repeat-pattern requirement, and a flattened, maxed-out canvas for POD sites like Society6 that don't need true tiling.
Where it earns its rating, and its limits
The closing lesson on professional tips is the most valuable section for anyone treating this as a business rather than a craft exercise: pitching collections rather than single designs to licensors, matching palettes to seasonal color forecasts, and reworking standalone illustrations into patterns to unlock more product categories. That advice is specific and comes from someone who has actually licensed work to major retailers, which gives it more weight than typical closing remarks.
The course's honest limitation is that it teaches one workflow extremely well rather than surveying the field. There's no coverage of vector-based repeat tools, no discussion of half-drop or brick repeats as alternatives to the straight block method shown here, and the freehand illustration style assumes a level of drawing confidence that a true beginner won't yet have. Anyone who already draws in Procreate and wants a clear, tested path from sketch to sellable seamless pattern will get real value here. Anyone still learning Procreate's basics should look elsewhere first.
The standout
The quadrant-split-and-reassemble method for building a truly seamless tile, tested live by shrinking and duplicating the block to confirm the seams disappear before committing to detail work.
What you will learn
- Building an asset library of hero illustrations and small filler details using Procreate's alpha lock and layer tools
- Splitting a square canvas into quadrants and offsetting them to build a mathematically seamless repeat block
- Arranging large, medium, and small elements around that offset block so no seams show when tiled
- Adding matched texture with a splatter brush so filler details don't look flatter than the hero illustrations
- Generating multiple color palettes from one pattern using Procreate's hue/saturation/brightness layer adjustments
- Exporting correctly for Spoonflower versus Society6 or Etsy, including the 27x27 inch maximum canvas workaround
Best for: Procreate users who already know their way around the app and want a repeatable, sellable system for turning illustrations into tileable surface patterns.
Skip it if: Absolute beginners to Procreate or digital illustration, since the course assumes comfort with layers, selection tools, and freehand drawing and spends no time on basic app navigation.