
Drawing Faces: A Beginner's Guide
Ira Marcks · Graphic Novelist
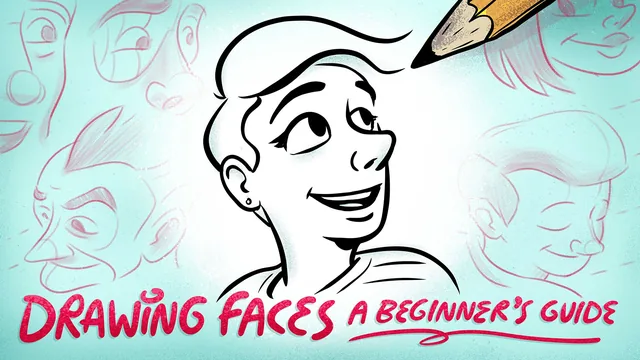
Fifteen-year comics pro breaks facial expression into a repeatable 'mask' system beginners can actually use by day one.
Ira Marcks structures this course like a short residency: four labeled "days," each adding one layer of skill onto the last, ending in a single character portrait built from a one-line backstory. It is a sensible arc for a beginner, and it is the course's biggest strength. Nothing here asks a novice to draw a three-quarter turned head before showing them where to put a nose on a flat circle first.
The core technique
The heart of the class is a device Marcks calls the "mask," an invisible shape wrapped around the eyebrows and eyes that stretches, compresses, and tilts to encode an expression. Shocked stretches it upward and narrows the sides. Suspicious drags it off to a corner. It is a genuinely useful mental model because it turns "draw an emotion" into "distort a shape," which is a much more teachable instruction than most drawing courses offer. Paired with it is a nod to classical animation principle, squash and stretch, borrowed explicitly from Preston Blair's cartooning references and the Disney illustration tradition, applied here to faces rather than bouncing balls. Watching a flat, neutral face get reshaped by these two ideas is the clearest, most transferable payoff of the whole class.
From there the course moves into secondary features: jawlines, ears, noses, and hair, treated as tools for injecting personality and variety rather than technical anatomy lessons. The hair section is a good example of the course's practical, almost shorthand approach: hairline placement, a front-and-back parting model, and an emphasis on weight and motion rather than individual strands. It is not a deep dive into hair rendering, but it gives a beginner enough structure to stop guessing.
Where it thins out
Day three introduces dimension and turning the head, and day four folds in storytelling by having Marcks design two characters from short descriptive phrases before walking through a live class project. This is a smart way to show how backstory can inform visual choices, like giving a nervous character a rounder nose and downturned eyes, or a mysterious one an angled, sliding pair of sunglasses. But this stretch of the course also asks a lot from viewers who are still shaky on basic proportion, and the pacing gets noticeably looser than the tightly built first two days.
The class project, a character named Ronnie built from a handful of traits, is a reasonable capstone but a modest one. It demonstrates the whole pipeline, sketch, mask, secondary features, hair, ink, without introducing much that is new, which makes it feel more like a recap than a culmination.
What the course does not do is worth naming plainly: it is not an anatomy course, offers no real guidance on tools or software beyond a passing mention of Clip Studio Paint, and never touches color in any depth. For a stated beginner's guide, that scope is appropriate. Anyone expecting rendering technique or a broader illustration foundation will find the ambition intentionally narrow.
At 154 minutes, this sits comfortably as a focused introduction rather than a comprehensive one. It earns its place for someone who has never systematically drawn a face and wants a clear, opinionated starting method, but it will feel thin to anyone who already has basic proportion and technique down.
The standout
The eyebrow-and-eye 'mask' technique, a simple invisible shape that shows exactly how to shift an expression from shocked to angry to suspicious.
What you will learn
- Placing key features (eyes, eyebrows, mouth) proportionally on a blank circle head
- Building an invisible 'expression mask' around the eyebrow-eye zone to drive emotion
- Applying squash-and-stretch animation principles to facial features for a sense of life
- Designing secondary features (jaw, ears, nose, hair) to create character variety
- Turning a flat face into a three-quarter or profile view using form and shadow
- Writing a short narrative descriptor first, then designing a face to match it
Best for: A total beginner with just paper and a pencil who wants a structured, day-by-day path from blank circle to a finished expressive character.
Skip it if: Anyone who already understands facial proportion and wants advanced anatomy, rendering, or software-specific tutorials, since tools and shading are barely touched.