
Draw Animals in Procreate: Plus Tips for Art Licensing Sales
Cat Coquillette · Artist + Entrepreneur + Educator
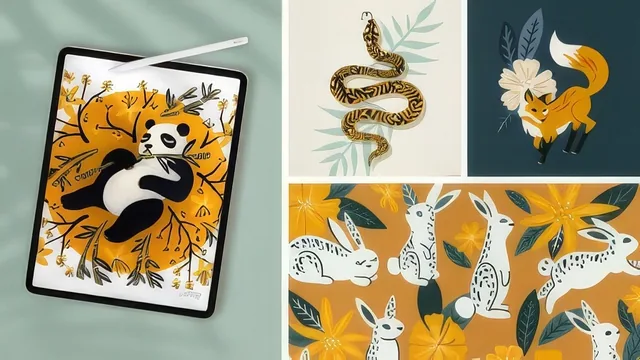
A working illustrator walks through her actual licensing workflow, from trend-scanning fashion sites to exporting print-ready files, animal by animal.
Cat Coquillette's class sells itself as a two-for-one, and it mostly delivers on both halves. One thread teaches Procreate illustration technique through a single jaguar drawing. The other threads a running commentary on why each decision, from motif to color to canvas size, is made with a buyer in mind. The two rarely separate cleanly, which is either the class's biggest strength or its biggest limitation depending on what a student came for.
The commercial-strategy layer
The opening lessons are the most distinctive part of the course. Rather than picking an animal at random, Coquillette walks through how she scans Anthropologie and ModCloth for recurring colors, motifs, and product categories, treating fashion retail as a live trend report. She explains why she settles on a jungle cat (evergreen, proven sales history in her own portfolio) over something holiday-specific like a bat, and why she chooses an unexpected teal-and-blush palette over a traditional neutral one. This is genuinely useful thinking for anyone trying to sell art rather than just make it, and it is rare to see an illustrator narrate the commercial reasoning behind a design choice in real time instead of presenting the finished piece as if it sprang fully formed.
The tradeoff is that this reasoning stays fairly high-level. "Look at what's trending on two retail sites" is a repeatable starting habit, but it is not a deep dive into licensing contracts, print-on-demand economics, or how she actually pitches to brands like Target. Students hoping for the business mechanics of art licensing will need her earlier class on that topic; this one treats commercial strategy as a lens applied to drawing decisions, not a subject in its own right.
The technical layer
On the Procreate side, the course is a practical, close-to-real-time build of one illustration. The most useful technical habit taught is the small-canvas-first approach: sketching and testing color on an 8x10 canvas because it allows up to 70 layers, then flattening and scaling up to a 24x30 or 27x27 final canvas where Procreate caps out at four layers. That constraint forces real decisions about which elements get merged and when, and the class shows the compromises that come with it, including reference images eating into the layer count and needing to be cleared.
The brush and texture work is specific rather than vague: named brushes (Crispy Inker for outlining, Grainy for texture), a layered approach to adding spots and fur texture, and a final multiply-blended paper texture pass to unify the piece. The export lesson is unusually thorough for a Skillshare class, covering PSD versus Procreate file archiving, flattened JPEG for print-on-demand upload, and transparent PNG for apparel, plus a square-crop variant for extra product categories.
Where it falls short is accessibility for true beginners. Brush selection, layer blending modes, and basic canvas navigation are used fluently but not taught from the ground up, so someone who has never opened Procreate will need outside resources to keep pace. Total runtime, at roughly two and a half hours across seventeen lessons, gives enough room to see a full piece through completion, but the density of decisions packed into the brainstorming and color-exploration lessons means it rewards a second watch more than a single pass.
The standout
The four-layer canvas discipline, sketching loose on a small high-layer-count board first, then flattening and scaling to a print-ready canvas before the layer ceiling bites, solves a real Procreate limitation most tutorials ignore.
What you will learn
- How to brainstorm sellable motifs by scanning trend-forward retailers like Anthropologie and ModCloth for recurring colors, animals, and patterns
- How to manage Procreate's layer limits by starting sketches on a small 8x10 canvas (70 layers) before scaling up to a 24x30 or 27x27 final canvas (only 4 layers)
- How to build a layered illustration: base shape, texture passes with custom brushes, spot detailing, and a multiply-blended paper texture for a hand-drawn finish
- How to generate multiple sellable color palettes from a single finished illustration instead of redrawing it
- How to export a finished piece correctly for different end uses: PSD/Procreate for archiving, flattened JPEG for print-on-demand, and transparent PNG for apparel
Best for: Illustrators who already know basic Procreate navigation and want a repeatable system for turning sketches into licensable, sellable artwork.
Skip it if: Complete beginners who have never opened Procreate, since brush selection, layer basics, and canvas setup are assumed rather than explained from zero.