
Design For Instagram: Creating the Perfect Flat Lay Photograph
Anna Kay · Spiritual mentor and healer
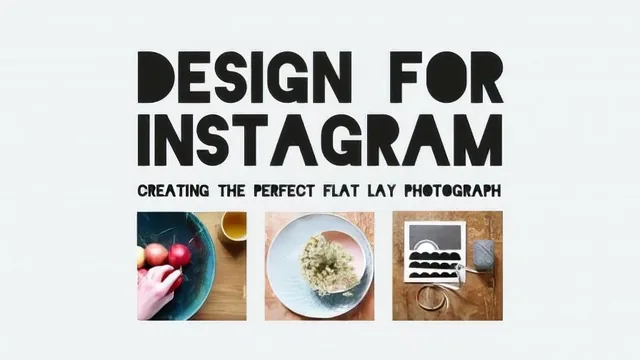
A 21-minute primer that covers flat lay basics competently but rarely moves past what a quick blog post already tells you.
What it actually covers
Anna Kay's class moves through flat lay photography in ten short lessons, from defining the format in the opening minutes to a final-thoughts wrap-up on consistency and practice. The arc is sensible: theme and color first, then props and backgrounds, then composition, then the physical act of shooting from above, then editing. For a 21-minute total runtime, that's a lot of ground covered at a brisk pace, and the sequencing mirrors how someone would actually plan a shoot.
The strongest stretch is the composition lesson. It walks through the rule of thirds with a specific example, a bowl of flour positioned exactly two-thirds across the frame, and explains why that placement feels resolved to the eye rather than arbitrary. It also addresses balance, warning against pairing objects with too great a size contrast, and uses a necklace example to show how a small item can get visually swamped next to a larger one. This is the one lesson where the teaching goes beyond stating a principle and actually demonstrates the reasoning behind it.
Where it thins out
Elsewhere, the lessons tend to state advice rather than build skill. The lighting lesson correctly emphasizes switching off artificial light and using a window, and gives a reasonable fix for harsh midday sun with white card or diffusing fabric, but it stops at the level of general advice rather than showing a side-by-side comparison of a shot before and after the fix. The props and backgrounds lesson is really a list, wood, linen, colored card, marble surfaces, useful as a starting inventory but not a technique in itself.
The editing lesson is the clearest example of the course's limits. It names two apps, Snapseed and VSCO, and describes one before-and-after result on a book cover, brightness raised, color balance adjusted, a vignette added, but never shows the actual steps taken inside either app. Anyone hoping to learn a specific editing workflow will finish this lesson with a description of an outcome rather than the process to reproduce it.
Structure and delivery
The class project is well-designed for a short course: choose a theme, gather props, find the best natural light in your home, shoot, edit, and post with a specific hashtag. It's an achievable, low-stakes assignment that fits a beginner's first attempt. The instructor also encourages checking classmates' submissions and leaving feedback, which is a nice touch for a beginner community even if it depends on other students participating.
What holds the course back from being more than a quick orientation is its unwillingness to go deeper anywhere. Every lesson introduces a real principle, theme, light, composition, balance, then moves on before demonstrating it with enough specificity to build actual skill. There's no discussion of camera settings, no manual exposure guidance beyond tapping a phone screen, and no real editing walkthrough. As an introduction to vocabulary and mindset for flat lay photography, it succeeds. As a course that turns a beginner into someone who can reliably produce a polished image, it falls short of its own promise.
The standout
The rule-of-thirds composition lesson, which shows a concrete grid example and explains why placing a focal object exactly two-thirds across the frame reads as visually satisfying.
What you will learn
- How to define a flat lay and recognize why it works better than in-situ photography for controlled composition
- How to find and use natural window light, including reflecting or diffusing it with card or fabric
- How to pick a theme or limited color palette (two to three colors) so an image reads as cohesive
- How to build a prop and background collection suited to a personal or business Instagram brand
- How to apply the rule of thirds and balance object sizes when arranging a scene
- How to shoot from directly above with a phone and do basic brightness, color, and filter edits before posting
Best for: A complete beginner with a smartphone who wants a fast, plain-language orientation to flat lay basics before experimenting on their own.
Skip it if: Anyone who already understands basic photo composition, owns editing apps like Snapseed or VSCO, or wants technical camera settings, hands-on editing walkthroughs, or advanced styling ideas.