
Design a Female Character: Sketching Portraits with Pencils
Gabrielle Brickey · Portrait Artist - ArtworkbyGabrielle.com
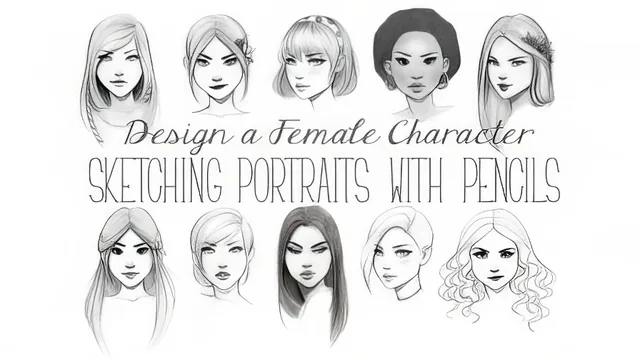
A tight, well-organized 59-minute walk through drawing stylized female faces feature by feature, best suited to anyone who already holds a pencil with some confidence.
A Feature-by-Feature System, Not a Single Demo
The course's real strength is its structure. Rather than showing one finished drawing start to finish, Gabrielle Brickey breaks the female face into isolated components, eyes, nose, lips, expression, head shape, hair, accessories, and gives each its own short, focused lesson. That modularity means a viewer can skip straight to "Drawing Noses" for a refresher rather than sitting through an entire portrait demo to find the one part they needed. The proportions lesson does the necessary groundwork first: eyes sit at the head's vertical midpoint, and the space from forehead to chin splits into thirds to place brows, nose base, and lips, a classic anatomical guide adapted for a stylized, big-eyed character aesthetic rather than photorealism.
The eye-drawing lesson is where the course earns its keep. It walks through a specific, repeatable build order, starting with a soft oval, adding two triangular shapes for the signature cat-eye liner, laying in the iris and brow, then finishing with a blending stump, kneaded eraser highlights, and a white gel pen for shine. That same sequence is then shown again in three-quarter view, which matters more than it sounds like it should, since most beginner face tutorials only ever cover straight-on views and leave students stuck the moment they try to angle a head. The nose and lips lessons follow the same logic: simple geometric starting shapes (a triangle for the nose, tiny triangles or squished ovals for lips) that get rounded, shaded, and refined rather than drawn as finished forms from the first mark.
Where the Course Thins Out
The hair and expression lessons are shorter on concrete technique. The expression lesson is genuinely useful conceptually, tying mood entirely to brow angle and mouth-corner direction, angry brows sharp and downturned corners, happy brows soft and upturned, but it stays at the level of description and a printable practice sheet rather than a full step-by-step build like the eyes get. Hair is treated similarly: the advice to think in S-curves and C-shaped clumps instead of individual strands is sound and worth internalizing, but the lesson leans heavily on "look at references" rather than walking through a hairstyle from first line to finished shading with the same rigor applied to the eyes.
The line quality and materials lessons, while brief, are practical rather than filler. The materials list is specific down to lead grades and pencil brands, useful for anyone shopping for supplies, and the line-quality lesson makes a clear, visible case for varying pressure and line weight instead of drawing everything at one flat value.
This is not a course for someone who has never drawn a face. It assumes comfort with a pencil and moves quickly through terminology like cupid's bow, wings of the nose, and tear duct without pausing to define them for a total novice. For an intermediate artist looking to develop a stylized character-design shorthand for faces specifically, and willing to accept that hair and full-figure poses are only lightly touched, it delivers a genuinely reusable system in under an hour.
The standout
The proportion lesson's thirds-based placement system for brows, nose, and lips is the one technique a beginner can reuse on every future face, in or out of this style.
What you will learn
- Varying pencil pressure and pencil choice to create thin, thick, dark, and light line quality on the same drawing
- The classic head-proportion guides: eyes at the vertical midline, and forehead-to-chin divided into thirds to place brows, nose, and lips
- A repeatable eye-construction sequence from oval to triangular cat-eye liner to iris, lashes, and gel-pen highlights, in both front and three-quarter view
- Building a nose from a simple upside-down triangle plus a round top, then adding nostril and wing details
- Drawing lips from several starting shapes (triangles, ovals, blobs) and shading the upper lip darker than the lower for realistic value
- Sketching hair as large clumped S- and C-curve shapes rather than individual strands, then adding tone and flyaway hairs for looseness
Best for: Someone with basic pencil-holding comfort who wants a repeatable system for stylized character faces and simple accessories.
Skip it if: Absolute beginners who have never drawn a face before, or anyone wanting full-body figures, coloring, or realistic (non-stylized) portraiture.