
Creative Image-Making: Layered Color Effect Using Channels in Adobe Photoshop
Evgeniya & Dominic Righini-Brand · Graphic Design & Photography
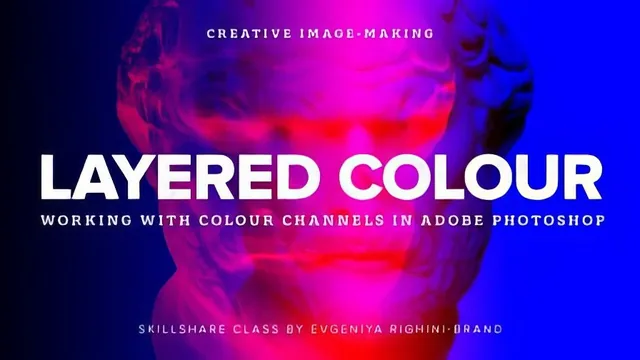
A 24-minute Photoshop crash course in exploiting RGB and CMYK channel maps to turn any flat photo into layered, glitchy, retro-poster color art.
A tight technique, not a color theory course
The class opens with a short color-model primer, walking through why RGB is additive (black plus red, green, and blue light builds up to white) while CMYK is subtractive (white minus cyan, magenta, and yellow ink builds down to black). It is a compressed explanation, delivered mostly through description rather than heavy visual diagramming, and the instructor is upfront that none of it is strictly necessary to complete the project. That honesty is refreshing, but it also means viewers who actually want to understand color theory deeply will need to look elsewhere. This section exists to make the next two lessons make sense, nothing more.
The real substance starts once the Channels panel opens. The class establishes a clear rule that recurs throughout: flatten every layer before touching channels, or the technique falls apart. From there it walks through what white and black mean on a channel in each color mode (opposite logic in RGB versus CMYK, which the instructor flags as the single most confusing part) and demonstrates it concretely by filling half of the red, green, and blue channels with black and white in turn to produce all eight resulting hues. It is a hands-on, trial-and-error way to internalize channel behavior rather than a lecture, and it works.
Lesson four is where the course earns its keep. It runs through a genuine toolkit: inverting a channel or a selection within it, filling with gradients (including reflected and angled gradients, which get singled out as favorites) for a subtler blended tint, and using the Move tool or Free Transform to shift, scale, or rotate a single channel's contents independently of the others. That last move, offsetting one channel and leaving the rest in place, is the technique that actually produces the "layered" look promised in the title, and the instructor spends real time on the mechanics of holding Shift or Alt to keep transforms proportional and centered. Copying a channel from one image into another, provided both are flattened and in the same color mode, extends the same idea into compositing two source photos into one.
The halftone lesson adds a second, distinct payoff: applying the Color Halftone filter or the Halftone Pattern filter to a single channel rather than a whole flattened image, which produces a dot-screen or scanline texture confined to just the color that channel controls. It is a smaller lesson than the manipulation one, but it is the piece that delivers the retro or pop-art quality the description promises.
At 24 minutes, the course does not waste time, but that brevity is also its main limitation. Beginners without prior comfort in Layers, selections, and Levels will find themselves referred sideways to two of the instructor's earlier classes rather than caught up here. Anyone already fluent in Photoshop's basics, though, will get a genuinely useful, narrowly scoped technique they can put to work on a single image within the hour.
The standout
Selecting a channel, nudging or transforming just that slice of the image with the Move tool or Free Transform, and watching the misregistration create an instant layered, motion-blurred color effect.
What you will learn
- How RGB (additive, black-to-white) and CMYK (subtractive, white-to-color) channels represent color differently in Photoshop's Channels panel
- How to fill, invert, and gradient-blend individual color channels to shift an image's overall tint without adjustment layers
- How to offset, scale, rotate, or flip a single channel with Free Transform and the Move tool to fake a multi-exposure layered look
- How to copy a channel from one flattened image and paste it into another to blend two photos into one composite
- How to apply the Color Halftone and Halftone Pattern filters to individual channels for a retro dot-screen or pop-art texture
- How to flatten, clean up, and export the final file correctly so channel edits survive saving to JPEG or PNG
Best for: Graphic designers, illustrators, and photographers with working Photoshop knowledge who want a fast, repeatable technique for punchy poster or print visuals.
Skip it if: Total Photoshop beginners unfamiliar with layers, selections, and levels, since the class assumes that groundwork and moves through channel manipulation quickly.