
Create Cinematic Scenes with Blender 3D | Chapter 1
Kaiwan Shaban · Visual Artist
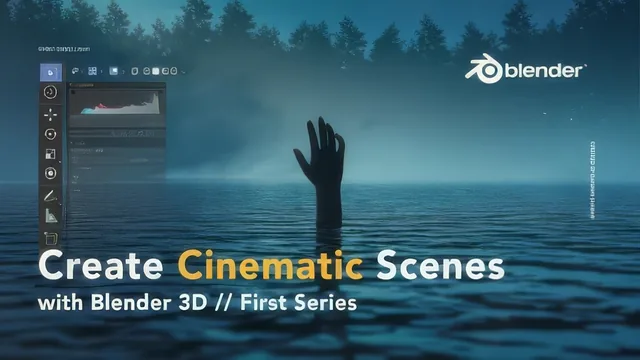
A cinematography-trained artist shows his exact 89-minute Blender workflow for one moody ocean scene, not a beginner Blender course.
What it actually covers
This is a workflow diary dressed up as a beginner course. Kaiwan Shaban, a photographer and filmmaker turned self-taught 3D artist, walks through the creation of a single cinematic ocean scene from empty Blender file to finished, color-graded still. The opening lessons are personal and philosophical rather than technical: a pitch for the 80/20 principle, a plea to find a visual "niche" before learning tools, and a rundown of where he sources models (Sketchfab, CGTrader) and paid add-ons (Blender Kit, Photographer, Botaniq). None of those add-ons are actually used in the project, which is an odd choice for a course built around a single hands-on build.
The technical core lands in the Environment and Water Shading lessons. Here the course earns its keep. Shaban builds an HDRI-lit sky, then constructs an ocean surface using a Glass BSDF shader fed by a Bump node and three layered Noise Textures at different scales, each mixed in with a Multiply blend mode to fake surface chop. He sets the index of refraction to 1.333 using a reference site for accurate material values, a small but genuinely useful habit for anyone doing shading work beyond this one project. The later "flag" trick, placing a hidden black plane beneath the water to block unwanted light bounce from underneath, is a direct borrow from on-set lighting practice and the kind of detail that separates someone with a production background from a tutorial-only 3D artist.
Where it falls short
The "Basic Overview" lesson is the only real Blender-fundamentals content in the entire course, and it moves fast: navigation, gizmos, view modes, and shortcuts are covered in one dense pass with the explicit acknowledgment that beginners may need to pause and rewatch. Object versus Edit mode gets its own short lesson but is described as something "we won't be using necessarily" for this project, which raises the question of why it needs a dedicated lesson at all. Anyone without prior 3D exposure will likely hit a wall the moment the node editor appears, since node-based shading logic is assumed to be learnable by immersion rather than taught from first principles.
The back half shifts almost entirely into post-production. Camera setup covers focal length, depth of field, and composition guides competently, but the Lightroom and Photoshop lessons run long relative to their teaching value: applying a preset pack, nudging saturation to match a reference image, and layering fog, tree, and dust brushes onto the render. These are shown more than explained, presented as "here's what I do" rather than "here's why this works," which fits a portfolio walkthrough better than instruction.
Bottom line
The course delivers exactly what its blurb promises: one artist's personal pipeline for a specific moody, ocean-themed render, narrated candidly and without padding. It is honest about its own limits, repeatedly telling viewers they don't need to master every node or plugin to get a good result. But calling it "beginner level" undersells the gap between the fundamentals lesson and the shading work that follows. Viewers who already have some Blender mileage, or who come from photography and just need the 3D-specific vocabulary, will get the most out of it. True beginners will likely need a separate, slower Blender fundamentals resource before this one clicks.
The standout
The layered noise-texture and bump-node technique for faking a realistic ocean surface, paired with the index-of-refraction lookup, is a genuinely transferable shading skill.
What you will learn
- Basic Blender navigation, object versus edit mode, and core keyboard shortcuts (G, S, R, X)
- Building an ocean-like water surface with the Glass BSDF, Bump, and layered Noise Texture nodes in the Shading tab
- Setting a realistic index of refraction (1.33 for water) using a physical reference site
- Adding HDRI sky environments and adjusting them for lighting and reflection control
- Blocking unwanted reflections with a hidden black 'flag' plane, a cinematography lighting trick
- Camera settings (focal length, depth of field, clip range) and a full Lightroom-to-Photoshop color grading pass
Best for: Someone with at least a little photography or cinematography background who has opened Blender before and wants to see one artist's complete stylized workflow end to end.
Skip it if: A total beginner who has never touched Blender or a 3D application, since the interface and node-editor basics are rushed through in a single overview lesson.