
Create an Ocean Loop in Cinema 4D and After Effects
Don Mupasi X Visualdon · Visual artist.
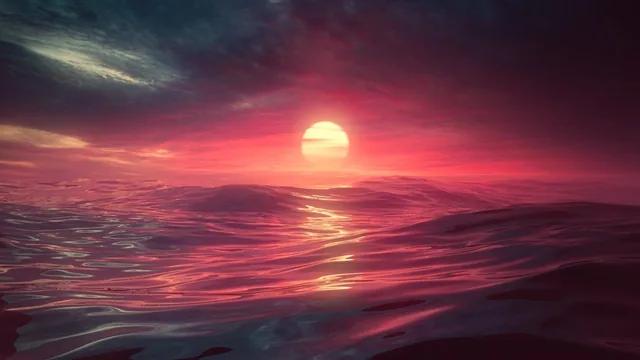
A 79-minute stylized ocean loop tutorial that hands you a genuinely clever plugin-and-reflection workflow but skips a lot of fundamentals.
A narrow but well-executed recipe
This course teaches one specific effect: a looping cinematic ocean shot built almost entirely from reflections rather than lighting. The arc is linear and logical. It opens with plugin installation, moves into building the ocean geometry and tuning the HOT4D wave settings, then layers on a sky background, camera animation, a sun element, fog, and finally alternate sky treatments and a floating object, before closing with render output and a compositing pass in After Effects and Premiere Pro. Each lesson builds on the last, and the pacing rarely lingers on any one step long enough to feel padded.
The technical backbone is the HOT4D ocean plugin, and the course is honest about its limitations from the first lesson: it is free only on Cinema 4D 21 and 22, and anyone on a newer version has to pay around 40 dollars for it. That single caveat shapes who this course actually works for, since beginners on a current C4D install are immediately routed toward installing an old version just to follow along comfortably.
Where the course is genuinely strong is in its lighting approach. Instead of building a traditional three-point setup, the entire scene is lit by a background sky image feeding into a fully reflective, zero-roughness ocean material, with the sky's colors and highlights doing all the visual work. It is a clever, low-effort technique that produces a moody, cinematic look without touching a single light object, and it is explained clearly enough that a beginner could reproduce it on a completely different scene.
The camera animation section is similarly concrete. It walks through building a slow vertical drift and a side-to-side banking rotation using offset keyframe timing so the two motions do not feel mechanically synchronized, plus a specific fix for keeping the last keyframe identical to the first so the loop holds. The floating-moon lesson, which uses a Constraint tag's Clamp function to pin an object to the ocean's surface while it still reacts to the waves, is the most transferable idea in the whole course. It is a rigging technique with obvious uses well outside of water scenes.
Weaker points show up in the finishing stages. The After Effects and Premiere Pro sections move quickly through glow layers, Lumetri color adjustments, and export presets without much explanation of why particular values were chosen beyond the instructor's own taste, which limits how much a viewer actually learns versus just copies. The fog section usefully flags a real Cinema 4D quirk, where fog fails to reinitialize correctly after a project reopen, but the workaround itself is more of a patch than a deep explanation.
Overall, the course delivers exactly what it promises: a specific, reproducible ocean loop with some genuinely useful lighting and rigging ideas buried inside a narrow project. It is not a broad education in Cinema 4D fundamentals, simulation theory, or compositing principles, and it does not pretend to be. Viewers who want a guided, aesthetic-driven project to learn from by doing will get real value here, particularly from the reflection-lighting and surface-clamp techniques, provided they are willing to deal with the version and plugin cost hurdle up front.
The standout
The Constraint tag Clamp-to-surface technique for anchoring a floating object (like the moon) to a simulated ocean while keeping the loop intact is a genuinely transferable rigging trick beyond just this one project.
What you will learn
- Building an ocean surface with the free HOT4D plugin and tuning wind speed, wave height, and time scale for a slow cinematic swell
- Matching plugin loop-frame settings to project frame count so the animation loops seamlessly
- Lighting a scene purely through reflections off a sky-image background instead of using actual lights
- Animating a looping camera path with alternating up/down position and side-to-side banking rotation keyframes
- Attaching a floating object to a simulated ocean surface with a Constraint tag's Clamp function
- Exporting a render sequence into After Effects for glow and Lumetri color grading, then to Premiere Pro for YouTube/Instagram export settings
Best for: Beginner-to-intermediate Cinema 4D users who want a guided, opinionated recipe for a moody looping ocean scene and are willing to hunt down an older program version to match it.
Skip it if: Anyone on Cinema 4D 23 or newer unwilling to pay roughly $40 for the plugin, or anyone wanting real lighting, physically accurate water, or effects fundamentals rather than one artist's specific settings.