
Create a Retro City Loop in Cinema 4D & After Effects
Don Mupasi X Visualdon · Visual artist.
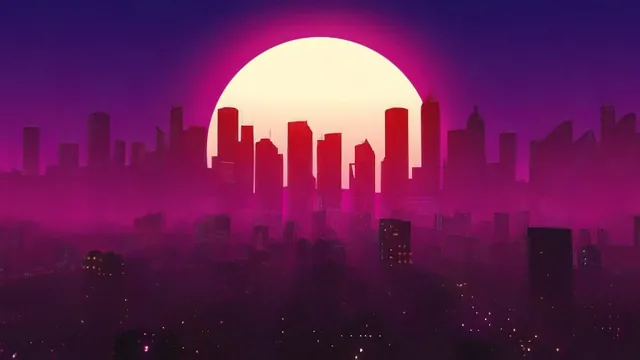
A precise, numbers-driven walkthrough for building a seamless looping city, best suited to users on older Cinema 4D versions.
A tight, formula-driven build
The course follows one project from empty scene to finished export, and it earns points for actually showing the arithmetic behind each decision. The city itself is built by cloning a small set of pre-made building models with the Cloner object, first in grid array mode with exact spacing values (400 units for foreground blocks, 600 for the skyline), then randomized in scale so the layout does not read as an obvious repeating pattern. That specificity, actual numbers rather than "adjust until it looks right", carries through most of the modeling and lighting lessons and is the course's biggest strength.
The loop itself is the technical core, and it is explained clearly. The whole city gets grouped into a null object, duplicated with an instance object, and a camera is keyframed to travel in a straight line from the first section into the identical second one. Linearizing the animation curve removes the default ease-in/ease-out so the motion holds constant speed, which is what actually sells the loop. When a visible seam appears at the frame edge, the fix offered is pragmatic: either tighten the camera's focal length or pad the scene with extra instanced copies so the camera never sees empty space. It is a real problem with a real, demonstrated fix rather than a hand-wave.
Where the pacing slips
The multi-colored lighting lesson, built from a shader effector reading a noise map through a colorizer gradient, is flagged mid-course as optional and genuinely the most complex stretch. It also becomes the most improvisational: color stops get nudged by eye, a seed gets reset because a gradient "doesn't seem to be working as well as it did before," and the reasoning behind final choices is thinner than in earlier lessons. Viewers chasing an exact replica of the promotional look will need to experiment on their own rather than follow a fixed recipe.
The render pipeline section is a genuine payoff for anyone planning to composite seriously. Splitting the render into ambient and atmosphere multi-passes, then adding seven separate object-buffer masks (buildings, floor, mountains, sky, particles), gives real independent control in After Effects: the fog gets its own hue shift, the sky gets its own gradient, stars get pushed back in with a levels boost and a screen blend. This is a useful, transferable technique well beyond this one project.
The course's honesty about its own limitations is worth noting. The recommended software window is Cinema 4D 21 through 24, with an explicit warning that version 25's redesigned interface breaks the follow-along experience. Paired with the JSplacement plugin's discontinuation noted in the class materials, newer users on current software will hit friction the course cannot fully resolve. None of that undermines the core lessons on looping, multi-pass rendering, and mask-based compositing, but it does mean the course rewards someone who already has an older Cinema 4D install or is willing to work around one.
The standout
The seamless-loop method, duplicating the city section, linearizing a camera move between the two copies, and padding extra instances to remove the visible edge glitch, is the one technique alone worth the runtime.
What you will learn
- Building a large procedural city using the Cloner object in grid array mode, with a random effector to vary building heights
- Constructing a true seamless loop by duplicating the city section, linearizing a camera move between duplicates, and extending instances to hide the edge seam
- Lighting a night scene with Cinema 4D's physical sky, fog, and star settings, including a fix for a first-frame fog glitch
- Creating a multi-colored building-light effect with a shader effector, a noise map, and a colorizer gradient mapped to luminance
- Exporting multi-pass renders (ambient and atmosphere layers) plus object-buffer masks for layer-by-layer control in After Effects
- Compositing the final loop in After Effects with luma mattes, glow, color correction, and export presets for Instagram and YouTube
Best for: Motion designers already comfortable navigating Cinema 4D, ideally on version 21 through 24, who want a concrete, numbers-based formula for building and rendering a seamless looping scene.
Skip it if: Complete 3D beginners, anyone running Cinema 4D 25 or later without patience for a reworked interface, and anyone unwilling to track down the discontinued JSplacement plugin referenced in the class files.