
Color Grading: Introduction with a Pro Colorist
Fred Trevino · Colorist & Top Teacher
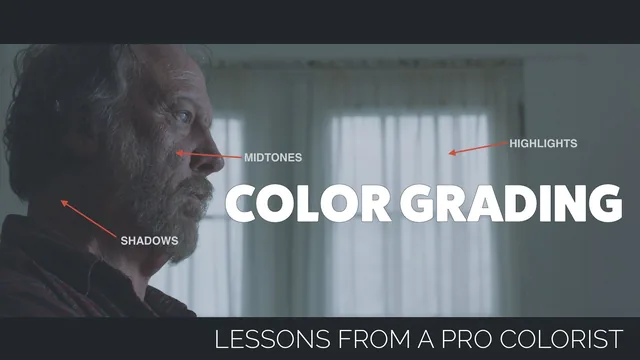
A working colorist explains how to think in color rather than just clicking buttons, using DaVinci Resolve to prove it live.
A vocabulary lesson before a button-pushing one
Fred Trevino opens by drawing a line most beginner tutorials skip: color correction fixes a shot, color grading gives it a personality. That distinction sets the tone for the whole 94 minutes. Rather than starting with menus, the course spends its first third building a shared vocabulary: lift, gamma, and gain as the three interlocking zones of an image, saturation versus the smarter "color boost" tool that only lifts saturation in underexposed areas, and the difference between color temperature (orange to blue) and tint (green to magenta). This groundwork matters more than it sounds. A colorist who cannot tell a director "low-key, high-contrast, slightly desaturated" from "make it moodier" is stuck guessing, and the course treats that translation skill as the actual product being taught.
The middle section turns practical with the waveform monitor, arguably the course's best-explained tool. Trevino walks through several stills, pointing out where crushed blacks touch the zero line, where highlights clip, and where a hidden green or red cast shows up in the trace that the eye alone might miss after long grading sessions. It is a short lesson but a genuinely useful one, especially the reminder that a waveform should look different for a horror film than for a wedding video, not conform to some universal "ideal" shape.
Watching a real grade get built
The strongest material comes in the two order-of-operations lessons, where Trevino grades three clips from the same location and talks through every decision: pulling a log-shot clip's hair down toward true black, deciding how far to push highlights based on the story's tone, adjusting the pivot point to control where shadows separate from midtones, then applying that grade to a second and third shot and fine-tuning the mismatches. The secondary pass, adding a serial node, drawing a soft feathered window around a face, and keying a background wall to boost its saturation, shows the kind of manual, hands-on adjustment a beginner rarely sees demonstrated start to finish. The two pro-tip lessons that follow, on walking away every 30 to 60 seconds to avoid over-grading and on how set dressing and lighting decisions made in pre-production determine how much work is even needed later, are short but add real perspective from someone who has graded over 40 features.
Where the course comes up short is depth. The DaVinci Resolve overview is intentionally a five-to-ten-minute crash course, so anyone hoping to leave with working knowledge of keying, tracking, or the qualifier tools will need a separate course entirely. The grading environment lesson, while sound advice about bias lighting and neutral walls, is more theory than something a home editor without a dedicated suite can act on immediately. And because the whole course rests on lift/gamma/gain and basic secondaries, viewers who already grade regularly will find little new here beyond the vocabulary framing itself.
As a first course in how a professional colorist actually thinks, rather than just which sliders to move, this succeeds. It will not turn anyone into an advanced Resolve operator, but it gives beginners the conceptual scaffolding and the shared language to get useful feedback from a working colorist, which is the stated goal from the first lesson onward.
The standout
The live three-shot matching exercise in the order-of-operations lessons, where lift/gamma/gain, contrast pivot, and a feathered face window are applied in real time and cross-checked against the waveform.
What you will learn
- Distinguish color correction (fixing exposure/balance) from color grading (creating a look)
- Use the vocabulary professionals share with clients: lift/gamma/gain, saturation vs color boost, temperature vs tint, shadows vs highlights
- Read a waveform monitor to see crushed shadows, clipped highlights, and color casts objectively
- Follow a primaries-then-secondaries workflow: bring a log image out of log, match shots, then isolate faces or backgrounds with windows and keys
- Set up an unbiased grading environment (bias lighting, neutral walls, calibrated monitor) so judgment isn't skewed by surroundings
- Navigate DaVinci Resolve's core rooms and node-based color page well enough to start grading
Best for: Editors, filmmakers, or Resolve beginners who already shoot or cut footage and want to grade with intention instead of guesswork.
Skip it if: Anyone wanting deep technical mastery of Resolve's node tree, keying, tracking, or advanced tools like power windows and qualifiers beyond a first touch.