
Color Grading: Creating a Cinematic Look
Fred Trevino · Colorist & Top Teacher
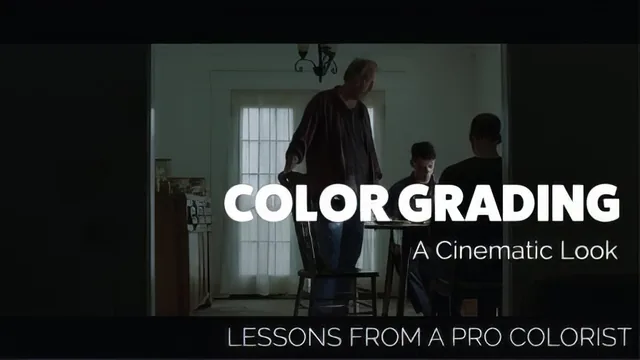
A working colorist names the seven traits that read as cinematic, then grades two real clips live to show how those traits translate into actual node work.
Fred Trevino opens with a premise worth taking seriously: half the job of a colorist is knowing what can and cannot be fixed before you touch a single node. The first half of the course is built entirely around that idea, walking through the traits that make footage read as cinematic rather than merely well-exposed. Grain gets traced back to the silver-halide size in physical film stock. Frame rate gets tied to the historical accident of 24fps syncing to sound. Depth of field, lens choice, composition, and quality of light each get a few minutes of plain, jargon-light explanation. None of this is technically deep, but it gives a vocabulary that the second half of the course leans on constantly.
From theory to the grading suite
The back half is one long grading session split across two very different clips, and this is where the course earns its runtime. The first clip, a tense breakfast scene, was shot well and lit deliberately, so Fred spends most of his time showing how a good primary grade, a green-tinted secondary on the background wall, and a couple of soft highlight windows compound into a finished look. He is explicit that roughly 70 percent of what makes footage look cinematic was already baked in by the cinematography, and the grade is closer to a polish than a rescue.
The second clip flips that. Bright, flat, wide, and unintentionally shot, it forces Fred to fight the image rather than enhance it: reframing a shot that was never composed, cooling an overly warm color temperature, building a rough vignette and a manual depth-of-field blur that he openly admits looks nothing like an actual lens. Watching him hit the ceiling of what grading alone can achieve is more instructive than the first clip, because it makes the earlier lecture on shot traits concrete rather than theoretical.
Where it holds up and where it thins out
The strongest technical moment is a short digression on parallel nodes, used to recover a nearly-black crack in a wall by pulling shadow detail from the original camera generation rather than from an already-stacked node. It is a small, specific fix, but it is the kind of thing that separates a working colorist's habits from a hobbyist's. The Apply Grade and Light Box workflow for matching a look across multiple shots in a scene is similarly practical and worth the price of admission on its own.
The course assumes real familiarity with Resolve's interface. Terms like lift, gamma, gain, and node generations are used immediately, and Fred points viewers to his own earlier course for the basics rather than pausing to explain them here. Anyone without that foundation will lose the thread during the grading sections. The course is also short enough that some traits, frame rate especially, get stated rather than demonstrated. What it delivers within its 74 minutes is a clear, honest picture of where cinematography ends and color grading begins, taught by someone who has clearly graded enough features to know the difference.
The standout
The parallel-node shadow recovery, where Fred grabs detail from the original camera generation instead of an already-graded node to avoid noise and banding, is a genuinely reusable Resolve technique.
What you will learn
- How to identify the specific traits (grain, frame rate, depth of field, lens choice, composition, light quality) that make footage read as cinematic before any grading starts
- How to structure a grade in DaVinci Resolve using sequential primary nodes, secondary qualifiers/windows, and a final polish node
- How to use parallel nodes to pull detail out of shadows without stacking the adjustment on top of already-degraded generations
- How to apply a finished grade across multiple shots in a scene with Apply Grade and the Light Box view, and spot why shots stop matching
- Why shooting in a log profile preserves the dynamic range needed for aggressive grading moves like crushing blacks or lifting crushed shadows
- How much a grade can and cannot save on footage that was poorly shot to begin with
Best for: Colorists and video editors who already know their way around DaVinci Resolve's node interface and want a framework for talking about and achieving a cinematic look, not a software tutorial.
Skip it if: Total beginners to color grading or Resolve, since Fred moves through lift/gamma/gain, qualifiers, and node structure quickly and points elsewhere for the basics.