
Blender 3D: Your First 3D Character
SouthernShotty3D · Motion: Design, Direction, & Animation
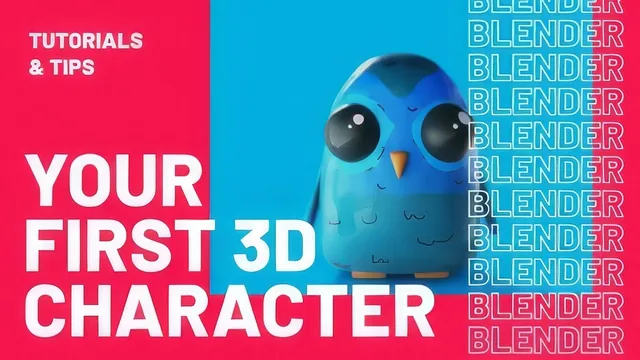
A fast, focused stylized-owl workflow covering sketch to render in about an hour, but real beginners will need Blender fundamentals elsewhere first.
This course promises a beginner-friendly path to a finished 3D character in about an hour, and on the narrow terms it sets for itself, it delivers. The arc is sensible: interface orientation, sketching, box modeling, secondary shapes, texturing, then lighting and render. Each lesson builds directly on the last, and the final deliverable, a rotating turntable video of a stylized owl, is a satisfying, shareable result for a short time investment.
The interface lesson tries to cram a lot into a few minutes: navigation, gizmos, the outliner, the properties panel, shading modes, and workspace tabs. It is a reasonable checklist, but it moves fast, and the course's own blurb admits as much by pointing newcomers to a separate fundamentals class first. Anyone without at least a little prior Blender exposure will likely need to pause constantly or rewatch, which undercuts the "no prior knowledge necessary" framing.
The modeling core
Where the course earns its keep is in the modeling section. It walks through extrude, inset, bevel, loop cut, and knife on a plain cube before applying those same tools to the owl body, which is a smart teaching sequence: learn the tool in isolation, then use it with purpose. The explanation of how a subdivision surface modifier interacts with loop cuts and edge creases, adding a loop to sharpen a corner versus creasing an edge to fake sharpness without extra geometry, is a genuinely useful piece of practical knowledge that a lot of beginner tutorials skip past.
The build-up of secondary parts (wings, beak, feet, tail, eyes) as separate objects, then parented or joined back to the body, is handled clearly, including the fix for a duplicated tail caused by the mirror modifier. This is the kind of small, real-world troubleshooting moment that makes a tutorial feel practical rather than scripted.
Texturing and render fall short of the modeling section
The texturing lesson is comparatively thin. It covers UV unwrapping with Smart UV Project and the basic paint tools (draw, fill, gradient, masking), but the actual painting of the owl's pattern is time-lapsed rather than taught step by step, with a note that a separate full-length recording exists elsewhere. For a course built around finishing a complete character, skipping past the one step that gives the model its personality is a real gap, not a minor omission.
The rendering lesson leans heavily on a pre-built lighting rig and a bundled clay-shader setup rather than teaching lighting principles from scratch, which is a fair beginner shortcut but means the render lesson teaches configuration more than lighting theory. Samples, denoising, and output settings are covered clearly enough to get a usable video out the door.
Overall, this is a tight, project-based course that works best as a second or third Blender tutorial rather than a first one. It teaches solid box-modeling habits and a full pipeline glimpse in under an hour, but the rushed interface intro and the time-lapsed texturing step mean a true beginner will hit gaps the course does not fill on its own.
The standout
The edge crease technique (Shift+E), used instead of extra geometry to sharpen edges on the feet and wings, is a genuinely efficient modeling shortcut worth adopting on any low-poly character.
What you will learn
- Navigate Blender's viewport, gizmos, outliner, and properties panel using keyboard-driven shortcuts
- Sketch a simple front-and-side character reference using primitive shapes and a grid for alignment
- Box-model a character body from a cube using extrude, inset, bevel, loop cut, and knife tools with a mirror and subdivision surface modifier
- Build secondary features (wings, beak, feet, tail, eyes) as separate objects and parent or join them to the main mesh
- Unwrap a model with Smart UV Project and hand-paint a texture directly onto the mesh using the fill bucket, draw, and gradient tools
- Light, parent to a turntable rig, and render a rotating video with a clay-shader look and a compositor denoise pass
Best for: Someone who already has a little Blender interface exposure and wants a compact, real project to practice box modeling, texturing, and rendering a stylized character.
Skip it if: Absolute beginners with zero Blender exposure, or anyone wanting rigging, animation, or photorealistic texturing skills, none of which this course covers.