
Art Made Easy: Draw and Paint with the IPad Pro
Gabrielle Brickey · Portrait Artist - ArtworkbyGabrielle.com
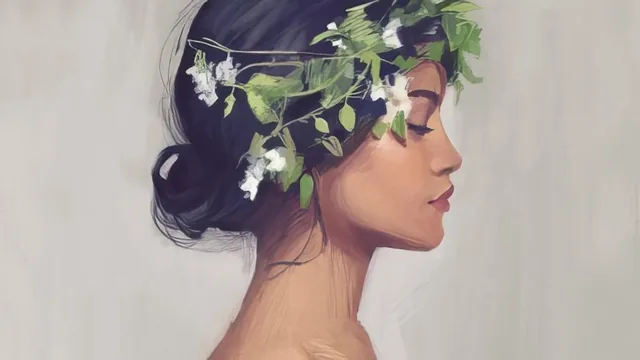
A skilled, breezy tour of digital portrait painting on the iPad that teaches real observational technique but glosses over the messy learning curve.
Gabrielle Brickey's iPad Pro course sells itself as a broad survey of Procreate painting across people, animals, places, and objects, but its real center of gravity is portraiture. Of the twelve lessons, four are devoted demo footage of a single portrait built from block-in to finish, and the shorter subject lessons (animals, places, things) function more as a highlight reel of brush experiments than as standalone tutorials.
Structure and what actually gets taught
The opening app tour is genuinely useful and specific rather than generic software orientation. It covers Alpha Lock for constraining paint to existing pixels, the Modify button trick for picking colors with one hand while painting with the other, the two-finger swipe to lock alpha, and the three-finger downward swipe for a quick cut-copy-paste menu. These are the kind of workflow shortcuts that save hours once internalized, and naming them explicitly (rather than assuming viewers will stumble onto them) is the course's strongest early contribution.
The techniques lesson that follows is where the teaching gets substantive. Brickey explains sizing a canvas to fit both a reference photo and the painting itself at matching dimensions, so proportion comparisons are exact rather than eyeballed. She walks through breaking a subject into basic shapes (a cat's body reduced to a drumstick shape and a teardrop), then pushes further into negative-space observation as a way to counteract the brain's tendency to draw symbols instead of what is actually seen. The value-structure advice, reducing a reference to five graphic value shapes and squinting to find the hierarchy, is standard but well-explained fine-art theory applied cleanly to a digital context.
The demo, and where the course thins out
The four-part demo is the course's real payload. It shows an unglamorous, iterative process: rough block-in with a 6B pencil brush, horizontal measuring lines checked and rechecked, a grid overlay for accuracy, then a duplicated layer smudged with a soft pastel brush to soften transitions before sharp details get reintroduced on top. Brickey is honest about the parts that are difficult, admitting she restarted a piece when a head angle proved too hard, and showing a mid-process reference overlay technique for checking likeness that doubles as a useful diagnostic for portrait painters generally.
Where the course falls short is depth outside portraiture. The animals, places, and things lessons move quickly through brush choices (rusty decay, oil paint, industrial textures) without building technique in the same structured way the earlier lessons do. Anatomy, a subject Brickey explicitly says she is not covering here and defers to other classes in her catalog, is a real gap for anyone hoping to paint faces confidently after finishing this course alone. The pacing also assumes some existing drawing competence: total beginners will find the sped-up demo footage moves past foundational drawing decisions faster than a first-timer can absorb them.
As a a-day-in-the-studio look at professional iPad workflow, layered with genuinely reusable Procreate tricks, this succeeds. As a complete portrait curriculum, it is better understood as a strong appetizer that points toward Brickey's more specialized classes for the anatomy and structure work it deliberately leaves out.
The standout
The woodcarving-then-smudging portrait method, where big value shapes are carved in with a 6B brush before a duplicate layer is selectively smudged to unify forms without losing structure underneath.
What you will learn
- How to set up Procreate canvases sized to match a reference photo for accurate 1:1 measuring
- Using Alpha Lock, grids, and horizontal measuring lines to check proportions and placement
- Breaking complex subjects into simple shapes and reading negative space for accuracy
- Building a portrait in stages: block in average colors, carve planes like a woodcarving, then smudge to unify
- Rendering form with cross-contour thinking and value transitions between light and shadow planes
- Practical Procreate shortcuts: color picking with the Modify button, straight-line snapping, custom brush-making
Best for: Artists who already understand basic drawing fundamentals and want to see a working professional's actual Procreate portrait process from block-in to finish.
Skip it if: Complete beginners with no drawing background looking for step-by-step, follow-along exercises rather than observed technique.