
Animation for Illustration: Creating GIFs with Procreate & After Effects
Heather Seidel · Motion Graphics Designer
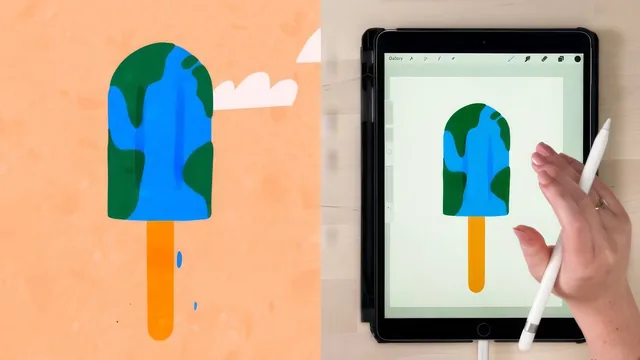
A one-hour, single-project walkthrough that turns a Procreate sketch into a looping After Effects GIF, but only for those who already own both apps.
This class follows one designer's process for turning a single illustration into a looping GIF, from initial concept to final export, and it does so by showing every step rather than skipping to the polished result. The arc is linear and complete: pick a subject, research it visually, sketch it, color it, animate individual frames, then rebuild the whole thing in After Effects with texture and motion added on top.
The concept-to-sketch pipeline
The first third of the class is less about software and more about idea generation, and it is the most transferable part of the course. The word tree exercise, where a broad topic like "environment" gets branched into associated words like "melting" and "globe" until a workable image emerges, is a simple technique anyone could apply to their own illustration work regardless of tool choice. The subsequent decision-making, testing an ice cube, an ice cream cone, and a popsicle before settling on the popsicle because its drips would not compete visually with a busy background, models a kind of critical thinking about composition that many animation tutorials skip entirely in favor of jumping straight to technique.
The Procreate sketching and coloring section is efficient and practical, emphasizing a layer-naming discipline (separate layers for each drip phase, each color, each secondary element like clouds) that pays off directly once the file moves into After Effects. The reference research into how a real water droplet stretches before separating is a genuinely useful, specific technique: watching footage of dripping water to understand that a drop elongates as it falls and thins before it breaks free, then translating that observation into frame spacing, is the kind of applied craft detail that separates this from a purely software-button tutorial.
Where the After Effects section holds up and where it thins out
The After Effects portion covers real, useful mechanics: setting import options to retain layer sizes so a Photoshop file becomes an editable composition, parenting layers to a null object to scale everything at once, using the sequence layers keyframe assistant to stagger drip timing, and switching keyframe interpolation to hold so a texture layer jumps between positions instead of smoothly drifting. The looping technique, trimming the work area so duplicated drip layers repeat seamlessly, is explained clearly enough to replicate.
The weakness is pacing. Because the entire pipeline from concept to export is compressed into about an hour, several After Effects operations, including parenting, keyframe interpolation, and the transparency toggle, are executed quickly with the assumption that the viewer already recognizes these tools. Someone who has never opened After Effects before will likely need to pause frequently or supplement with outside material. The exporting section is thorough and practical, covering both Adobe Media Encoder for an MP4 and a GIF-making plugin as well as a browser-based alternative, which is a nice bit of format-agnostic problem solving.
Overall, this is a well-organized case study of one designer's actual workflow rather than a software fundamentals course, and it succeeds best as a template for illustrators who already have the baseline tool fluency to keep up.
The standout
The water-drip reference research, where footage of a real droplet stretching and thinning before falling is translated directly into the shape and spacing of individual animation frames.
What you will learn
- How to develop a concept from a mind-mapping technique called a word tree instead of jumping straight to drawing
- How to sketch and color a frame-by-frame animation cycle in Procreate using separate, named layers per element
- How to reference real-world footage to time a natural motion like a dripping liquid
- How to import layered Photoshop files into After Effects as a composition with retained layer sizes
- How to sequence, trim, and loop layers using keyframe assistants and hold keyframes for a seamless GIF
- How to export a finished animation as both an MP4 and a GIF using Media Encoder and a GIF plugin
Best for: Illustrators with working knowledge of both Procreate and After Effects who want a repeatable pipeline for turning a static drawing into a short looping GIF.
Skip it if: Complete beginners to After Effects, since the class assumes familiarity with panels, keyframes, and parenting and moves through them briskly without pausing to explain the interface.