
Animation for Illustration: Adding Movement with Procreate & Photoshop
Libby VanderPloeg · Artist and Illustrator
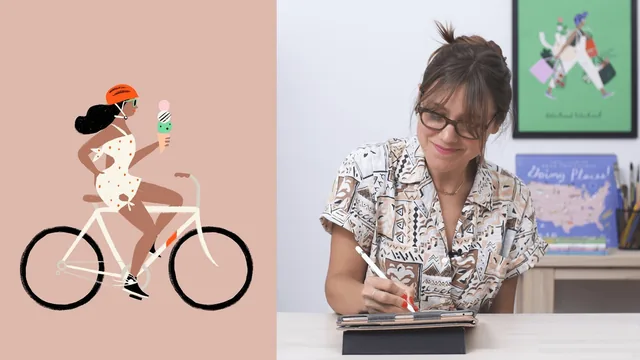
A 50-minute walkthrough of a specific frame-by-frame trick for making static illustrations flutter, bounce, and roll without ever touching a rigging tool.
Libby VanderPloeg's class promises an accessible bridge between static illustration and animation, and for the narrow goal it sets, it delivers. The course follows one project start to finish: a woman riding a bicycle while eating an ice cream cone, chosen specifically because a spinning wheel and a swinging cone give two easy sources of visible motion without requiring full-body movement. That constraint, choosing a subject that animates itself, is the first real lesson of the class, even though it is never stated as a rule.
A Workflow Built Around Layers, Not Timelines
The bulk of the course happens before any actual animation software opens. Storyboarding in Procreate gets a full lesson devoted to comparing thumbnail angles: a straight-on view is rejected because the wheels and legs would stay static, while a three-quarter view is set aside in favor of a clean profile shot that shows both wheels turning and hair blowing backward. This is a smart teaching choice because it reframes "animation" as a drawing decision made at the sketch stage, not a technical trick applied afterward.
From there, the character-building lesson walks through breaking a figure into individual Procreate layers, head, arms, torso, legs, bike frame, and instructs building new layers deliberately so pieces can later be repositioned without redrawing. The consolidation lesson that follows, where dozens of working layers get merged and grouped by movement function (bike frame together, hair separate, ice cream separate), is arguably as valuable as the animation lesson itself, since a disorganized PSD export would make the Photoshop stage far harder.
The Actual Animation Technique
The method taught for motion is not rigging or tweening. It is duplicating a layer two or three times, nudging or rotating just the moving part slightly in each copy (the hair fans out further, the ice cream scoops tilt, the wheels get squashed asymmetrically so they read differently when flipped), then showing and hiding those layers frame by frame in Photoshop's Timeline panel. The class is explicit about the limits of this approach: rotating the whole composition on a single frame throws every other frame out of alignment, so anything ambitious, like a bicycle wheelie, has to be planned into the original drawing rather than patched in later.
The exporting lesson is unusually practical for a course this short, covering GIF color depth tradeoffs (256 versus 128 versus 16 colors and their visible effect on file size and quality), image size for GIFs versus MP4, and the frame-duplication math needed to stretch a four-frame loop into a five-second Instagram video.
What holds the course back from a higher score is scope. Fifty minutes is enough to teach one specific technique well, but the class openly limits itself to simple, looping motion on isolated elements. Anyone hoping to animate a full walk cycle, character dialogue, or more than a few seconds of continuous action will need to look elsewhere. Within its stated boundaries, though, the class is well-sequenced, honest about its own limitations, and ends with a usable file in hand.
The standout
The three-layer fanning technique, where the artist draws the same element (hair, ice cream, shoelaces) in two or three slightly shifted positions and cycles them, is a genuinely transferable low-effort way to fake fluid motion.
What you will learn
- Storyboard a scene by sketching quick thumbnails to find the pose with the most animation potential (profile view over straight-on)
- Build a character in Procreate as separated layers by body part so each piece can move independently later
- Draw 2-3 slightly varied versions of a moving element (hair, ice cream scoops, wheels) to create a flip-book cycle
- Consolidate dozens of sketch layers into organized groups before exporting a PSD to Photoshop
- Use Photoshop's frame animation timeline to show/hide layers, time each frame, and loop the sequence
- Export the finished loop as both an optimized GIF and an MP4 for social platforms
Best for: Illustrators and designers who already draw comfortably in Procreate and want a lightweight way to add a few seconds of motion to their work without learning rigging or timeline animation from scratch.
Skip it if: Complete beginners to digital drawing, or anyone hoping to learn proper frame-by-frame or rigged character animation with a full range of motion.