
3D Modeling In Blender: Design Your First 3D Object
Derek Elliott · Product Designer + Animator
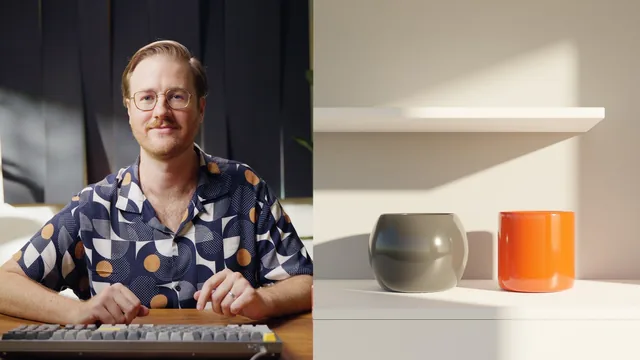
A 49-minute walkthrough that takes a bare Blender cube to a lit, rendered shelf scene, teaching hotkeys and modifiers rather than menu-clicking.
This class opens on Blender's default cube and ends on a rendered, sunlit shelf scene with two pots, and the 49 minutes between those points cover more ground than the runtime suggests. Derek Elliott, a product designer turned 3D animator, treats the software's hotkey system as the spine of the class rather than a footnote. Grab, rotate, and scale (G, R, S) get locked to specific axes early, and that habit carries through every later lesson, so the muscle memory actually compounds instead of resetting each time a new tool appears.
The middle section is where the course earns its keep. Rather than modeling the wall as a solid block, Elliott builds it from a single plane, extrudes it around a corner, and applies a solidify modifier to give it thickness that stays adjustable after the fact. He repeats the same move for the shelves, which means both objects can be nudged thinner or thicker later without touching individual faces. Cutting a window into that wall uses loop cuts (Ctrl+R) to slice the mesh into sections, then a face deletion to punch the hole. It is a genuinely useful pattern for beginners: build flat, add thickness with a modifier, punch openings after the fact.
The pots get a second modifier pass, subdivision surface for rounding and bevel for softened edges, and this is also where the class quietly teaches one of Blender's most common beginner traps. When the bevel modifier applies unevenly to a scaled object, Elliott stops to explain that object-mode scaling throws off modifier behavior, and fixes it with Apply Scale. That kind of concrete, symptom-first explanation is worth more than an abstract warning would have been.
Lighting and the final render
The lighting section swaps a plain gray world background for a sky texture, which gives the scene a horizon and directional sunlight without adding a lamp object. Elliott walks through sun elevation and sun size as the two controls that matter, showing how a lower elevation stretches shadows and a larger sun size softens them. Switching from the real-time Eevee engine to Cycles for the final look, then explaining GPU versus CPU rendering, sample counts, and denoising, rounds out the technical picture without turning into a settings dump.
Materials get comparatively little time, just base color and roughness sliders on a couple of objects, which is appropriate for a class this short but means anyone hoping for a materials deep dive will need the sequel course in the series. The same goes for animation, camera composition theory, and more advanced modeling, all of which the ending explicitly hands off to later classes in Elliott's five-part path.
As a standalone lesson, the pacing holds up well. Nothing lingers too long on a single hotkey, and the project stays small enough that a first-timer can realistically follow along and produce a comparable render rather than a broken scene. The tradeoff is that everything here is foundational by design, so anyone who has already built a basic object in Blender will find little new. For a true beginner, though, it is a well-sequenced first hour that ends with an actual finished image instead of an abandoned cube.
The standout
Building the wall and shelves from a single plane plus a solidify modifier, so wall thickness stays adjustable from one flat mesh instead of a solid block full of extra faces.
What you will learn
- Navigating the Blender viewport and camera view using hotkeys instead of menus (G, R, S, numpad views)
- Building geometry by extruding planes and using the solidify modifier to add editable wall and shelf thickness
- Cutting a window opening with loop cuts and face deletion
- Using the subdivision surface and bevel modifiers to round and smooth hard-edged objects
- Lighting a scene realistically with the sky texture instead of point lamps, and adjusting sun elevation and size
- Applying basic materials and rendering a final denoised image at a set resolution
Best for: Complete beginners who have never opened Blender and want a guided first project that produces a real rendered image by the end.
Skip it if: Anyone who has already made a basic Blender scene before, since the pace and content stay at the absolute introductory level throughout.