
1930s Character Animation
Jake Bartlett · Motion Designer
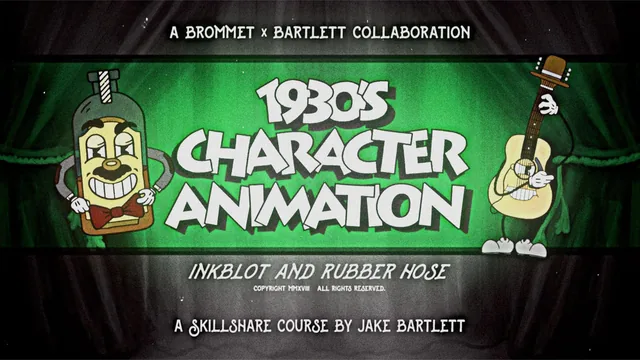
This is an execution deep dive: rig and animate one loopable cartoon cycle in After Effects, not a design or concept course.
What it actually covers
This course picks up exactly where a companion character-design class leaves off: a layered Photoshop illustration goes in, a looping animated cartoon comes out. The teacher works across three sample characters (a guitar player, a bottle-headed figure, and others referenced only in passing) to show how the same rigging principles bend to different anatomy. The arc is linear and practical: clean up the PSD, straighten any bent limbs with Puppet Warp, import into After Effects, build a Puppet-tool rig with pins and parenting, animate a short loop, then apply a battery of degrade effects to fake a 1930s film print. Nothing here is theoretical. Every lesson is a screen-recorded walkthrough of a specific operation, which makes it easy to follow but also means the course lives or dies on whether the viewer already has usable artwork and a working knowledge of After Effects.
The rigging core is the real content
The strongest stretch is the rigging block, which runs eight separate lessons. The teacher shows how to add puppet pins to a limb, turn on the mesh, crank up point density for smoother distortion, and separate a hand controller from an elbow controller so bends stay proportional. The strings-on-a-guitar problem is a genuinely useful case study: six separate line layers won't behave as one mesh until their tips are artificially connected with a few painted pixels, a fix that is not obvious and would trip up most self-taught riggers. The expression work that follows, linking a slider on a master control layer to a pupil's X position buried inside a pre-comp, is the course's best teaching moment. It demystifies expressions for people who've never touched After Effects code by treating them purely as a wiring tool, pick-whip a property, zero out the layer's position, done. That single technique, more than the drawing or the exporting, is what separates this from a generic "how to loop a GIF" tutorial.
Where it thins out
The animation lessons themselves are comparatively light. The bounce-and-sway cycle for the guitarist is built mostly through manual keyframe copying and pasting, mirrored values for a left-lean pose, inverted rotation for the right, which is an effective technique for a symmetric loop but is shown almost entirely by demonstration rather than explained as a transferable principle. Viewers hoping for real 12-principles animation theory (weight, timing curves, secondary action reasoning) will find only the practical residue of those ideas, not a framework. The frame-rate discussion, dropping to 12fps to mimic old cost-cutting production schedules, is a nice piece of context but is one of the only moments where the course explains why rather than just how.
The finishing touches and verdict
The old-timey degrade sequence, stacked grain, vignette, wiggle-driven flicker, screen-blended dust footage, black-and-white conversion, is well organized and genuinely reusable outside this specific project, as is the export lesson comparing Adobe Media Encoder output for Instagram against a manually color-reduced GIF for Dribbble and Skillshare. At 169 minutes across twenty lessons, the course delivers real, specific technique rather than padding, but it assumes viewers arrive with compatible artwork and enough After Effects background to not get lost in the parenting and pre-comp navigation. It rewards someone who wants exactly this pipeline; it will frustrate someone hoping for a broader animation education.
The standout
The expression pick-whip trick that links a top-level slider to a buried pre-comp property, like the pupil, so complex rigs stay controllable from one master layer.
What you will learn
- Prepping layered Photoshop artwork for animation by merging, labeling, and thinning down layers
- Straightening bent limbs with Photoshop's Puppet Warp so they can be rigged cleanly
- Building a bendy character rig in After Effects with the Puppet tool, pins, and parenting
- Using expressions and sliders to link controllers to hidden pre-comp properties like eye position
- Animating a looping strum-and-sway cycle with holds, key poses, and copy-paste repetition
- Degrading footage with grain, vignette, flicker, and dust overlays for an authentic 1930s film look
Best for: Motion designers with basic After Effects fluency who already have (or can get from the companion class) a layered character illustration and want to make it loop.
Skip it if: Absolute beginners looking to learn After Effects fundamentals from scratch, or anyone who hasn't drawn or sourced compatible layered character artwork first.